Key Takeaways
- A wallet does not store your coins. It reads one blockchain at a time, so a balance that looks missing is usually a balance the wallet is not currently looking at.
- Most "wrong network" problems are fixed by switching chains, correcting a chain ID, or importing a token contract, and none of these steps require your recovery phrase.
- If you sent funds to a self-custody address on the wrong chain, the funds are usually still there. If you sent them to an exchange on an unsupported chain, only that exchange can help.
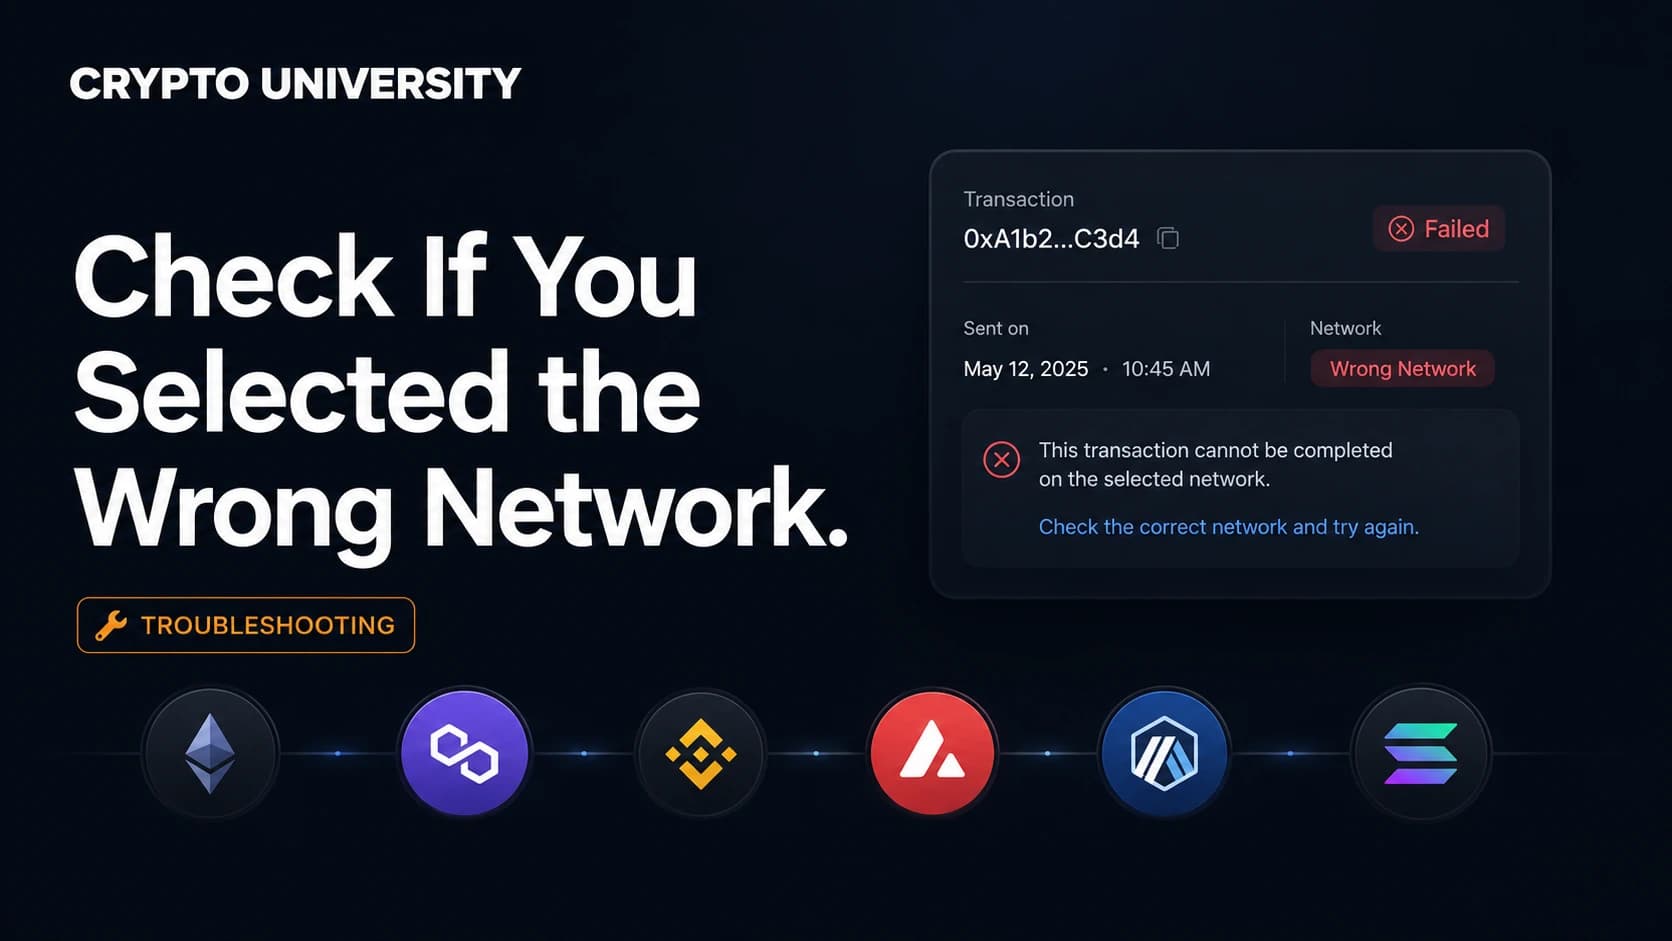
What "Wrong Network" Actually Means
A crypto wallet is a key manager and a viewer. Your assets live on a blockchain, not inside the app on your phone or browser. The wallet holds the private key that controls your address, then asks a node for the balance of that address on one specific network.
That last part is where most confusion starts. Ethereum, BNB Smart Chain, Polygon, Arbitrum, Optimism, Base, and Avalanche C-Chain are all built on the Ethereum Virtual Machine (EVM). They share the same address format, which begins with 0x and contains 40 characters. The same recovery phrase gives you the same address on every one of them.
The address is shared. The balances are not. Your address on Polygon and your address on Ethereum look identical, but they hold completely separate assets. When a wallet is set to Ethereum, it will show you nothing about what is sitting on Polygon, even though the address on screen is the same.
So when a wallet "shows the wrong network," one of a few things is usually true:
- The wallet is set to a different chain than the one you expect.
- A decentralised application (dApp) expects a chain your wallet is not on.
- The network was added manually with the wrong chain ID or a bad node address.
- Testnet mode is switched on.
- The funds genuinely arrived on a different chain than you intended.
The Five Common Causes and Their Fixes
| Cause | What you see | Typical fix |
|---|---|---|
| Wallet set to another chain | Balance shows zero, address is correct | Switch network in the wallet |
| dApp on a different chain | "Wrong network" banner, greyed out buttons | Approve the switch request or change chain manually |
| Wrong chain ID or bad RPC | Errors, stuck loading, transactions fail | Correct the network details from an official source |
| Token not imported | Native coin shows, token does not | Add the token contract address for that chain |
| Testnet mode enabled | Balances vanish, banner at the top | Turn testnet mode off |
Step One: Confirm Where the Funds Actually Are
Before changing any setting, check the blockchain itself. A block explorer reads public data and is not affected by your wallet settings.
- Copy your wallet address.
- Paste it into a block explorer for the chain you think you used, such as Etherscan for Ethereum, BscScan for BNB Smart Chain, or Polygonscan for Polygon.
- Look at the token holdings and the recent transactions.
If the explorer shows the balance, the assets are safe and the problem is a display setting in your wallet. If the explorer shows nothing, try the explorer for the other chain you may have used. This one check saves people hours of panic.
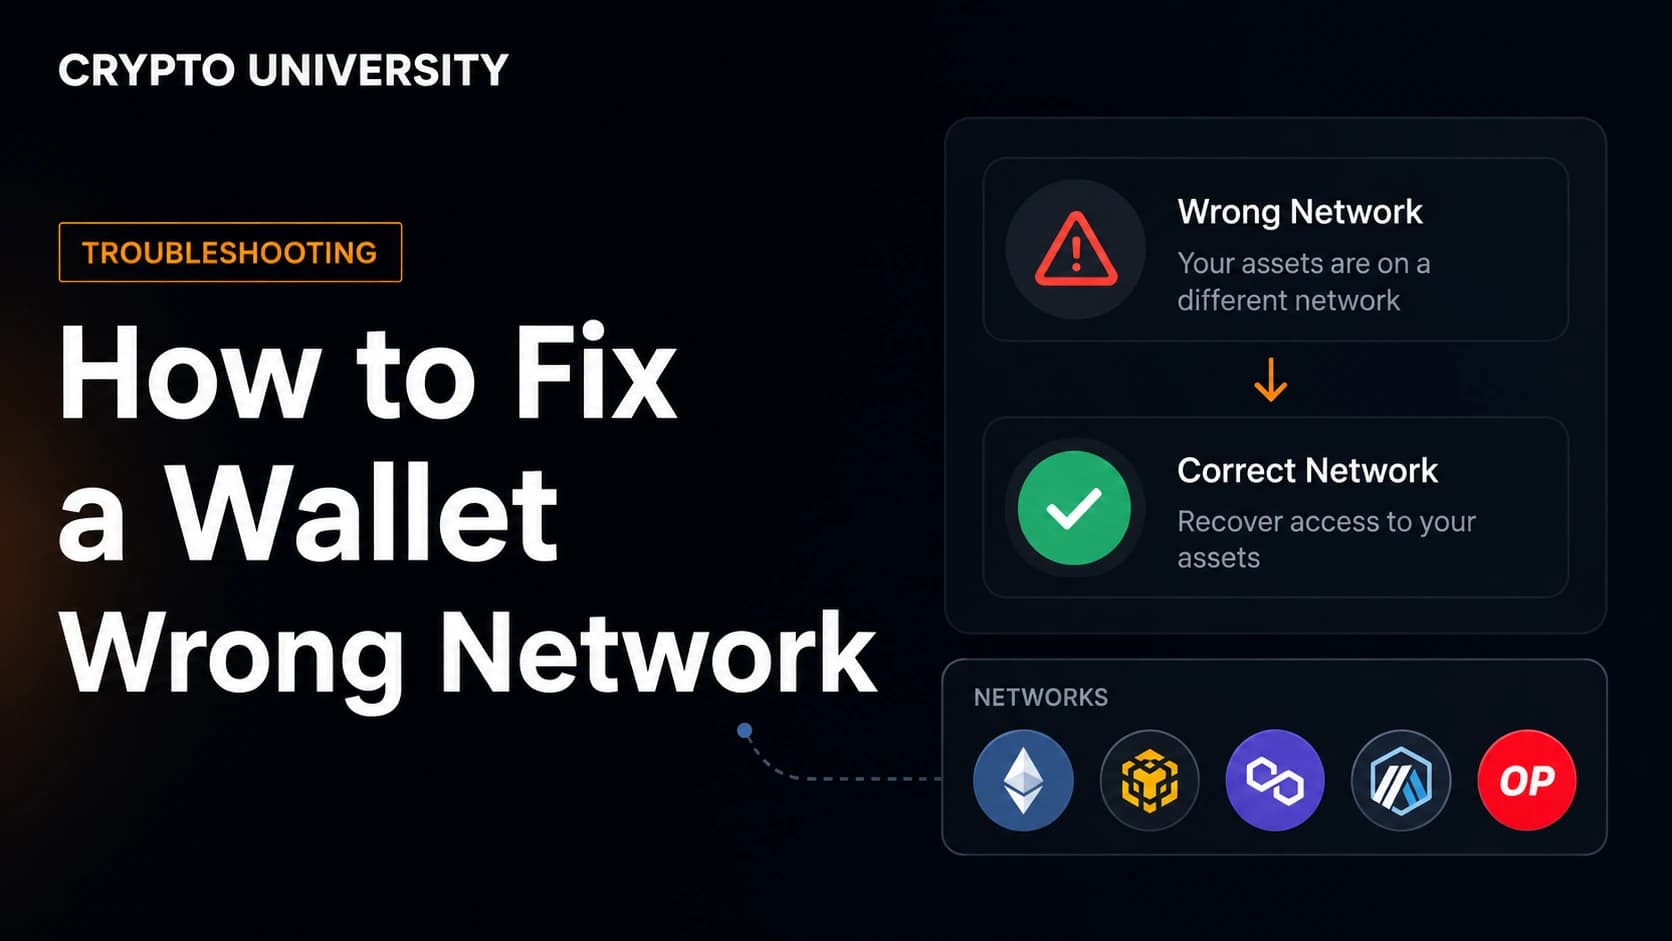
Step Two: Switch the Network in the Wallet
Every major wallet keeps a network selector near the top of the main screen.
- MetaMask: open the network dropdown at the top left and pick the correct chain. Enable "Show test networks" only if you need them.
- Trust Wallet: balances are grouped per chain, so use the token filter or the manage tokens screen rather than a global switch.
- Phantom: if balances disappeared, open Settings, then Developer Settings, and turn Testnet Mode off to return to mainnet.
- Hardware wallets: the network is chosen in the companion app or the connected wallet, not on the device itself.
If nothing appears after switching, close and reopen the wallet, or toggle to a different network and back. This forces the wallet to request fresh data.
Step Three: Fix a dApp That Says "Wrong Network"
When a website shows a "wrong network" warning, it is comparing the chain ID reported by your wallet against the chain it runs on. If the two do not match, it blocks the transaction, which is protective behaviour rather than a fault.
Work through these steps in order:
- Click the "switch network" prompt shown by the site and approve it in the wallet.
- If nothing happens, switch chains manually inside the wallet, then reload the page.
- Disconnect the site in your wallet settings, then reconnect it.
- Clear the site cache or try a private browsing window. Stale connection data is a frequent cause.
- Update the wallet extension or app to the latest version.
Wallets and sites communicate through an event that fires when the chain changes. If a site was opened before you switched, it may still hold the old value until it is reloaded.
Step Four: Correct a Bad Network Configuration
If a network was added by hand, one wrong field is enough to break it. A wallet needs five details, and the chain ID must be exact.
| Network | Chain ID | Native currency |
|---|---|---|
| Ethereum Mainnet | 1 | ETH |
| Optimism | 10 | ETH |
| BNB Smart Chain | 56 | BNB |
| Polygon | 137 | POL |
| Base | 8453 | ETH |
| Avalanche C-Chain | 43114 | AVAX |
| Arbitrum One | 42161 | ETH |
Chain IDs are widely published and stable, but always confirm them against the project's own documentation before saving.
MetaMask's support pages advise checking the chain ID under Settings and Networks when a chain ID error appears, and suggest Chainlist or the network's own documentation as reference sources. If the network still misbehaves, delete it and add it again from the official details rather than editing fields one at a time.
Step Five: Make a Missing Token Visible
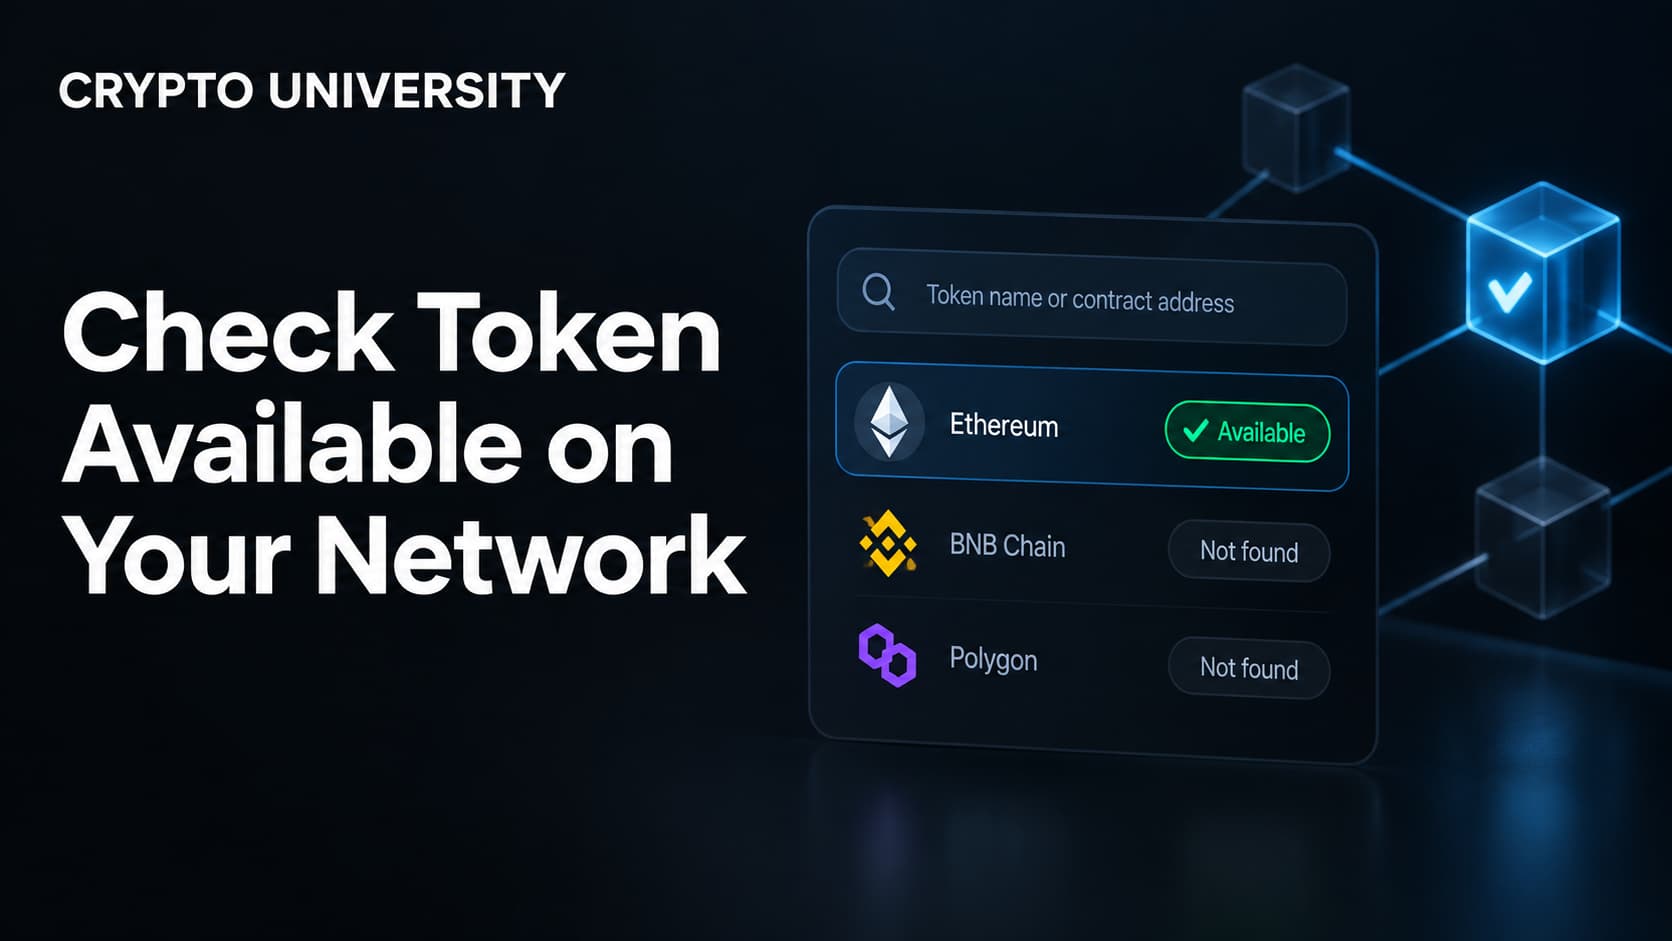
Wallets show the native coin of a chain automatically. Other tokens often need to be imported.
- Confirm the chain the token lives on.
- Find the token contract address on that chain's block explorer or the project's official site.
- In the wallet, choose "import token" or "add custom token" and paste the contract address.
- Check that the symbol and decimals fill in automatically, which is a sign the contract is being read correctly.
Never take a contract address from a social media reply or a direct message. Fake tokens copy real names and symbols, and some wallets will display a misleading price next to them.
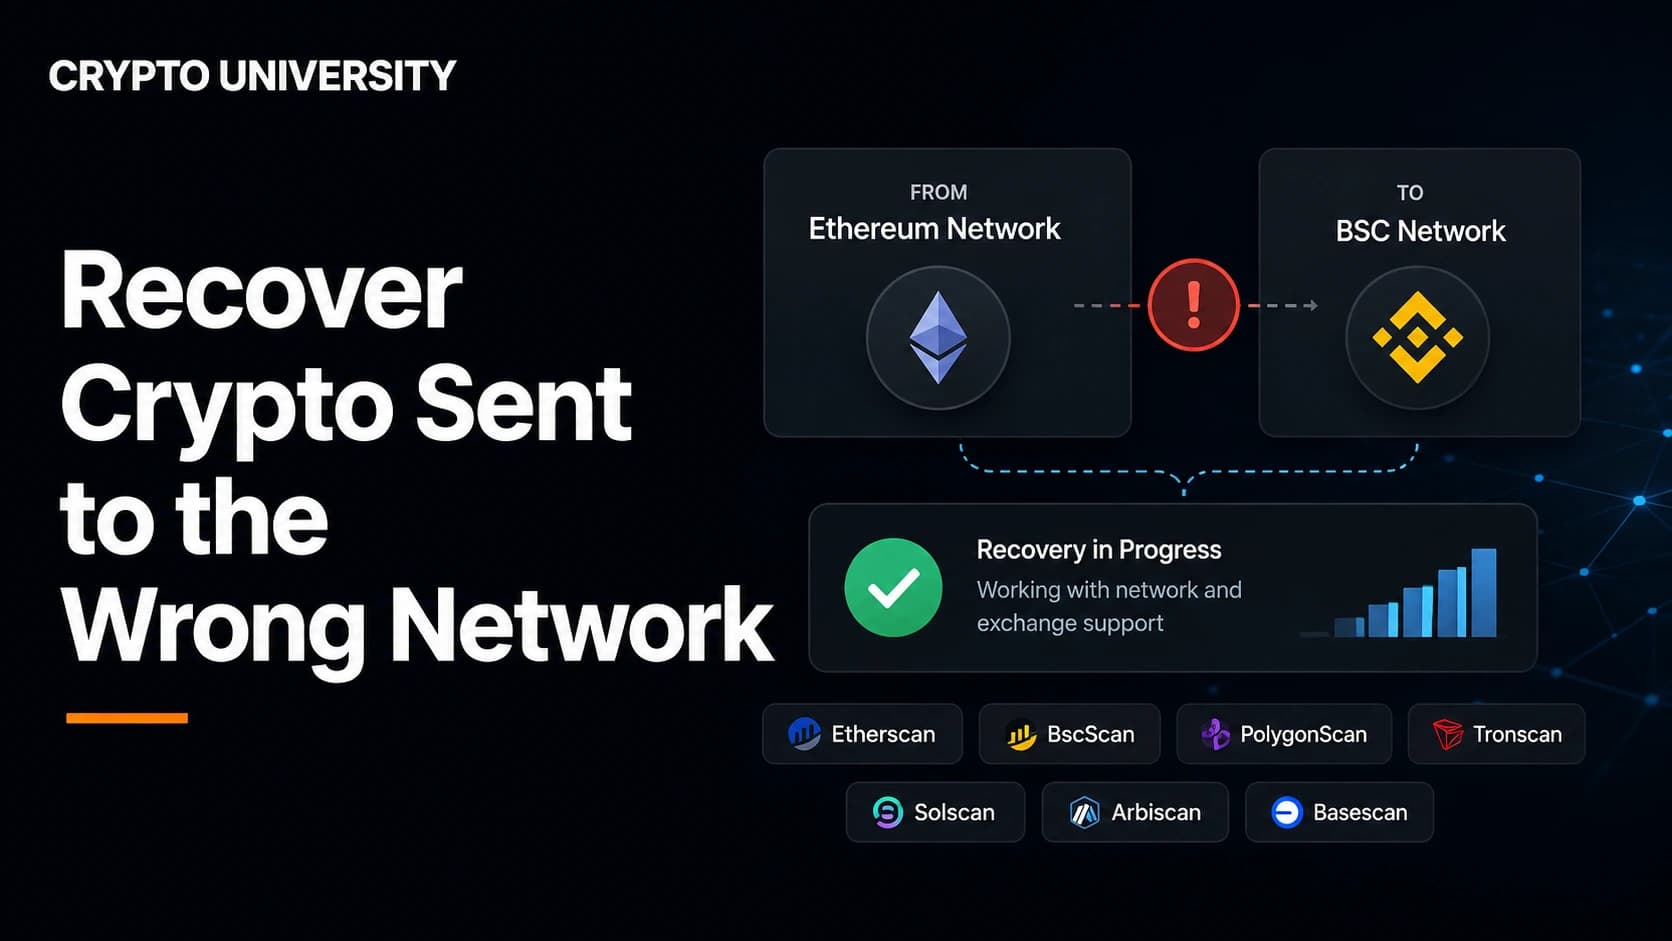
If You Sent Funds Over the Wrong Network
This is the version of the problem that worries people most, and the outcome depends on who controls the receiving address.
| Situation | Likely outcome |
|---|---|
| Sent to your own EVM wallet on the wrong EVM chain | Recoverable. Switch to that chain and import the token |
| Sent to an exchange on an unsupported network | Only the exchange can help. Contact support with the transaction hash |
| Sent between incompatible chains, such as Bitcoin to an EVM address | Usually unrecoverable |
| Sent to a token contract address by mistake | Usually unrecoverable |
For the recoverable case, the fix is straightforward. Because one private key controls the same address across EVM chains, the assets are simply sitting on a chain your wallet is not displaying. Switch to that chain, import the token contract, and you will need a small amount of that chain's native coin to pay gas before you can move anything.
If you do not control the receiving address, gather the transaction hash, the sending address, the receiving address, the token, and the network used, then open a support ticket. Recovery is discretionary, can take time, and some platforms charge a fee or decline outright.
Security Warning: Network Settings Are a Scam Target
Changing a network does not require a recovery phrase, which is exactly why attackers use it. Wallet security teams have documented scams where victims are talked into adding a custom node address that reports fake balances. The wallet then displays funds that were never received, and the victim is pressured to pay a fee to "release" them. Nothing appears on the real blockchain.
Apply three rules:
- Only add networks using details from the project's official documentation or a well known directory.
- Treat anyone who instructs you to change RPC settings as hostile until proven otherwise.
- Always confirm balances on an independent block explorer, not only in the wallet interface.
How to Avoid This Next Time
- Send a small test amount first when using a new chain or a new exchange.
- Match the network on both sides of a transfer before confirming anything.
- Keep a small balance of the native coin on each chain you use so you can always pay gas.
- Bookmark the official site of every dApp you use rather than searching for it.
- Turn testnet mode off when you finish testing.
Frequently Asked Questions
Does the wrong network mean my crypto is lost? Usually not. If the address is one you control and the chain is EVM compatible, the assets are on the chain and visible on that chain's block explorer. The wallet is simply not displaying it.
Why is my balance zero after switching networks? Each chain holds separate balances. A zero balance on one chain says nothing about the others. Check the explorer for the chain you actually used.
Do I need my recovery phrase to fix a network problem? No. Switching networks, correcting a chain ID, and importing tokens never require a recovery phrase. Any support agent or website asking for it is attempting theft.
Why does a dApp still say wrong network after I switched? The page is probably holding an old connection state. Reload the page, then disconnect and reconnect the wallet if the warning remains.
Can I move testnet tokens to mainnet? No. Test networks are separate systems and their tokens have no value and cannot be transferred to a main network.
Related Terms
- Chain ID: the unique number that identifies an EVM network and prevents a signed transaction from being replayed on another chain.
- RPC endpoint: the node address a wallet contacts to read balances and broadcast transactions.
- Block explorer: a public website for searching addresses, transactions, and contracts on a specific chain.
- Token contract address: the on-chain address of a token, used to import that token into a wallet.
- Testnet: a parallel network used for testing, where tokens hold no value.
Sources
- MetaMask Help Center, "Error: No chain ID defined" and network configuration guidance: https://support.metamask.io/configure/networks/error-no-chain-id-defined/
- MetaMask Help Center, fake token scams and unverified custom networks: https://support.metamask.io/privacy-and-security/staying-safe-in-web3/fake-token-investment-scams-and-pig-butchering-attacks/
- BNB Chain documentation, "Recovering Tokens Sent to the Wrong Chain or Address": https://docs.bnbchain.org/bnb-smart-chain/faq/recovering-tokens-sent-to-wrong-chain-or-address/
- Phantom Help Center, "About mainnet, testnet, and devnet networks in Phantom": https://help.phantom.com/hc/en-us/articles/5997313271699-About-mainnet-testnet-and-devnet-networks-in-Phantom
- imToken Security Team, "Watch Out for RPC Node Tampering Scams": https://support.token.im/hc/en-us/articles/54160941880217-Watch-Out-for-RPC-Node-Tampering-Scams-Security-Monthly-Report-45th-Issue
- TokenPocket Help Center, "Beware of custom RPC node scams": https://help.tokenpocket.pro/en/security-knowledge/common-fraud-cases/beware-of-custom-rpc-node-scams
Further Reading
- Ethereum.org, "Networks": an overview of mainnet, layer 2 networks, and test networks, and how they relate to each other. https://ethereum.org/en/developers/docs/networks/
- Chainlist: a directory of EVM networks and their chain IDs, useful for cross-checking network details before saving them. https://chainlist.org
- MetaMask Help Center, "User Guide: Custom Networks and Sidechains": the official walkthrough for adding and managing networks safely. https://support.metamask.io/configure/networks/how-to-add-a-custom-network-rpc/
Disclaimer: This article is educational content. It is not financial, investment, tax, or legal advice. Network behaviour, fees, and explorer interfaces change over time, so verify current details against official documentation before relying on them.
Not sure which problem you have?
Use the Fixing Crypto Mistakes hub to identify the transaction, wallet, network, or exchange issue before taking another action.
OPEN TROUBLESHOOTING HUB