Key Takeaways
Etherscan shows you whether a contract is verified, who controls it, and whether it uses a proxy. You can learn a lot in just a few clicks.
You do not need to write code to pick up real safety signals. The Read Contract tab and a handful of keywords go a long way.
A verified contract is a starting point, not a guarantee. Always check admin roles, proxy structure, and how the supply is distributed before trusting it.
Introduction
If you spend any real time in crypto, sooner or later someone will tell you, "check the contract on Etherscan first." It sounds simple, but a lot of beginners nod along without actually knowing what to do once they get there. Looking up a wallet or confirming a transaction is one thing. Figuring out whether a contract is transparent, upgradeable, or quietly controlled by an admin wallet is something else entirely.
Here is the good news. You do not need to write code to learn a lot from Etherscan. This guide walks you through the basics in plain English, including what the Verified Contract label really means, how to skim the source code, how to spot a proxy contract, and how to check who controls a token before you click approve.
What Is Etherscan?
Etherscan is a blockchain explorer for Ethereum. Think of it as a public search engine for everything happening on the Ethereum network. You can use it to look at:
What You Can Inspect | What It Shows |
Wallet addresses | Balances and transaction history |
Token contracts | Token type, supply, and holders |
Smart contracts | Code, functions, and settings |
Transactions | Status, gas fees, and details |
Blocks | Network activity and timestamps |
Source code | The actual logic of a contract, when verified |
If you are trying to figure out whether a token or app looks legit, the contract page on Etherscan is usually the first place to look.
Why Contract Verification Matters
A smart contract is just code that lives on the blockchain. If that code has not been verified publicly, regular users cannot easily check whether the live contract matches a readable version of the source. That creates a transparency gap, which is exactly what scammers love.
Here is why verification is helpful at a glance.
Check | Why It Matters |
Verified source code | You can see what the contract is supposed to do |
Public contract metadata | Helps identify token type and standard functions |
Read and Write tabs | Let you inspect settings and methods directly |
Admin or owner visibility | Shows whether one party still controls things |
A verified contract is not automatically safe, but an unverified one leaves you flying blind.
What Does "Verified Contract" Mean on Etherscan?
When Etherscan tags a contract as verified, it means the contract creator submitted source code that matches the bytecode actually running on the blockchain. In plain language, that means the code is public, Etherscan confirmed it lines up with the live version, and you can scroll through the functions yourself.
One important caution. Verified does not mean safe. A verified contract can still be:
Risk | What It Looks Like |
Buggy code | Honest mistakes that cause loss of funds |
Malicious logic | Hidden traps or fee mechanisms |
Risky upgrades | Logic can be swapped out later |
Admin controlled | One person can freeze or change things |
Scam token launch | Looks legit on the surface, drains wallets later |
Verification raises transparency, but it does not give you a free pass to trust the contract.
Step 1: Find the Correct Contract Address
Before you check anything else, make sure you are even looking at the right contract. Fake tokens love to copy real names and tickers, hoping you click first and check later.
Here is how to find the right address safely.
Best Practice | Why It Works |
Use the official project website | The team controls this, so the address should be trustworthy |
Check verified social channels | Twitter, Discord, and similar links posted by the real team |
Cross-check token listing pages | CoinGecko or similar can confirm the address |
Compare multiple sources | If two trusted places agree, you are probably safe |
And here is the trap to avoid. Do not just search a token name and click the top result. Many scams ride on lookalike names, near-identical tickers, fake websites, paid search ads, and copycat social pages.
Step 2: Open the Contract Page on Etherscan
Once you paste the address into Etherscan, you land on the contract page. For most beginners, these are the sections worth checking first.
Section | What to Check |
Overview | Token name, contract type, balance, transaction count |
Contract tab | Verified status, source code, read and write functions |
Token info | Supply and where the tokens live |
Holders or analytics | Whether ownership looks heavily concentrated |
The Contract tab is where most of the useful information lives, so head there next.
Step 3: Look for the Contract Tab and Verified Status
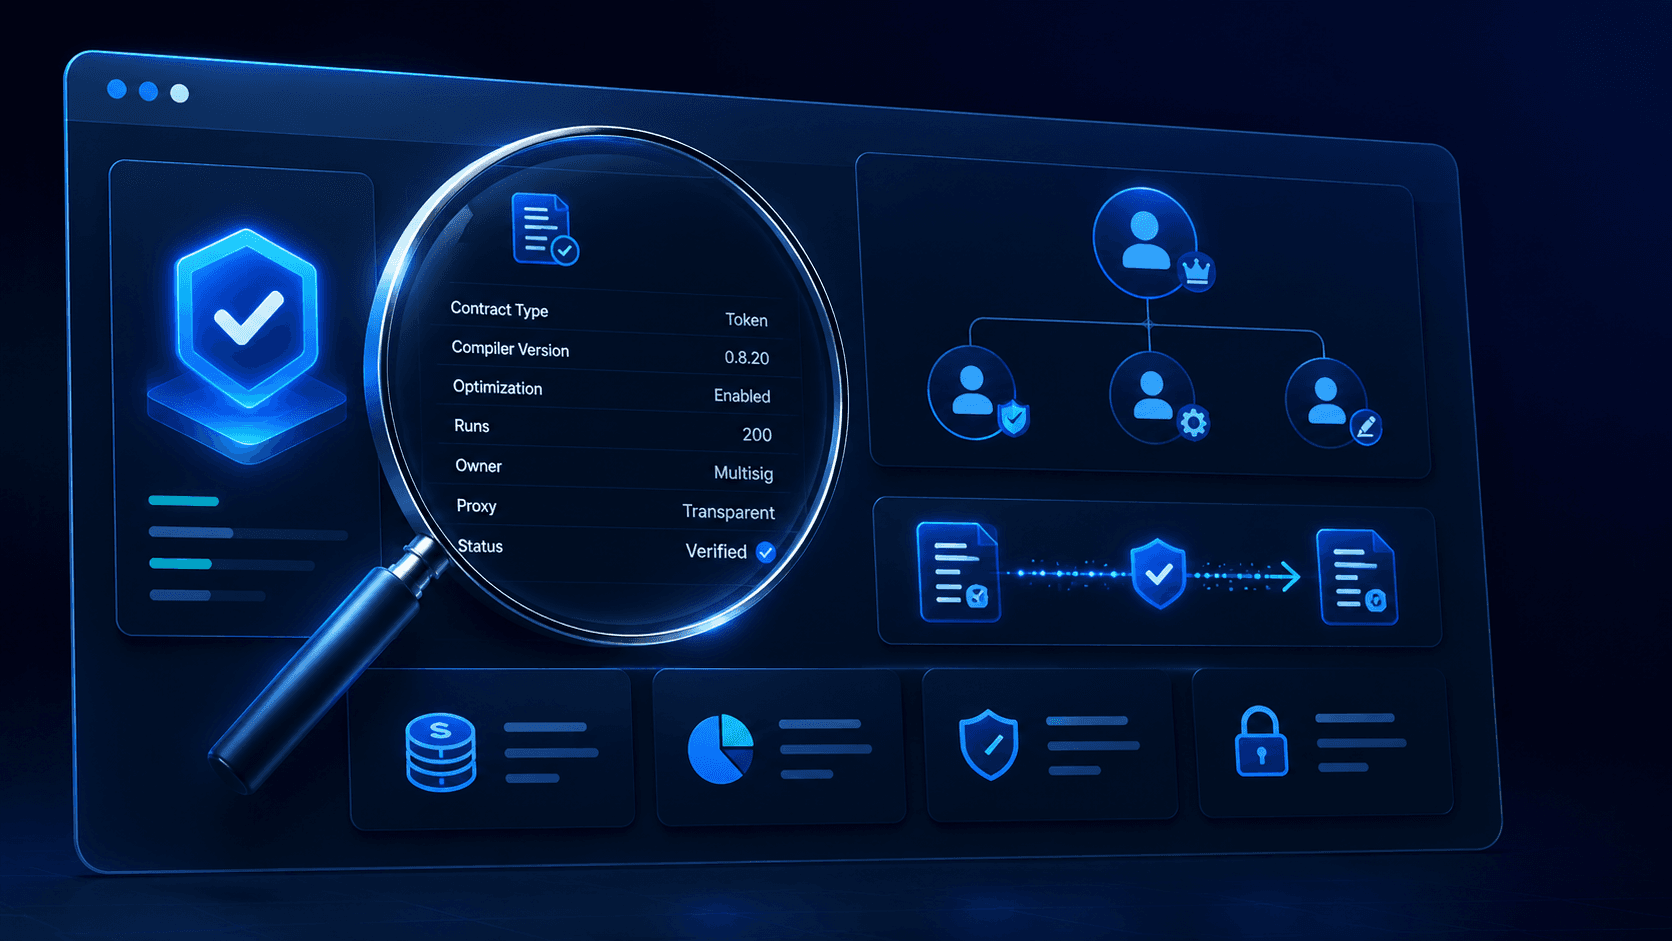
Click the Contract tab. If the contract is verified, you will usually see a source code panel, the compiler version, the contract name, and tabs such as Code, Read Contract, and sometimes Write Contract.
If none of that shows up and you just see raw bytecode, the contract probably is not verified. A simple rule of thumb. If a project wants you to trust their contract with your money, a verified contract is a much better starting point than an opaque one.
Step 4: Read the Top-Level Contract Info Without Coding
You do not need to understand every line of Solidity. Just scan the top section around the code.
Pay attention to these details.
What to Notice | Why It Helps |
Contract name | Should match what the project claims |
Compiler version | Outdated or mismatched versions can be a red flag |
Optimization settings | Hints at how carefully it was deployed |
Multiple files | Suggests a more structured codebase |
OpenZeppelin imports | Indicates use of well-tested libraries |
Projects that import standard audited libraries tend to look more professional than ones that copy-pasted code in a rush. It is not proof of safety, but it gives you useful context.
Step 5: Use the Read Contract Tab First
For beginners, the Read Contract tab is way more useful than digging through raw code. It shows public variables and read-only functions in a tidy list.
Here are the fields you will run into most often.
Field | What It Tells You |
owner | Whether a single address still controls the contract |
name | Token name |
symbol | Token ticker |
totalSupply | How many tokens exist |
decimals | Token precision |
paused | Whether the contract can be frozen |
implementation | If it is a proxy, where the real logic lives |
If you spot an owner field, click the address it returns. That tells you whether control sits with a normal wallet, a multisig, another contract, a burn address, or a governance system.
Step 6: Check Owner and Admin Roles
This step matters a lot. Plenty of tokens and apps still have admin controls after launch. That is not always sketchy, but you absolutely want to know.
Ask yourself a few quick questions. Is there still an owner? Has ownership been renounced? Is the owner a normal wallet or a multisig? Can the owner pause transfers, mint new tokens, or upgrade the logic?
Here is what different owner setups can mean.
Owner State | What It May Mean |
Renounced ownership | Admin gave up control, though proxy upgrades may still exist |
Multisig owner | Control is shared across several signers, which is safer |
Single wallet owner | One person can move things unilaterally, higher risk |
Proxy admin present | The logic itself can still be swapped out |
If a token can still be paused, blacklisted, minted, or upgraded by one party, you need to weigh that into your risk.
Step 7: Understand Proxy Contracts
A common beginner mistake is checking one contract page and assuming that is the whole story. Many modern contracts use what is called a proxy pattern. In plain terms, the proxy is the front door you interact with, but the actual logic lives in a separate contract behind it.
Why projects do this:
Reason | Why It Matters to Users |
Upgrade logic later | The contract you trust today might change tomorrow |
Fix bugs | Useful, but it depends on who controls the upgrade |
Add features | Same as above, this is a power that can be abused |
Manage a live product | Convenient for teams, less predictable for users |
Look out for these proxy signals on Etherscan.
Signal | What It Suggests |
"Is this a proxy?" label | Etherscan has detected a proxy structure |
Implementation address shown | The real logic lives at another address |
Proxy admin fields | Someone still controls upgrade rights |
Separate logic contract page | You may need to inspect both contracts |
If you see a proxy, check three things. The proxy contract, the implementation contract, and who controls upgrades. Getting into this habit early will save you a lot of pain.
Step 8: Skim the Source Code at a High Level
Forget auditing line by line. Just scan for familiar keywords that hint at admin powers.
Here are the words to look for and what they usually mean.
Keyword | What It May Signal |
mint | New tokens can potentially be created |
pause | Transfers or actions can be halted |
blacklist | Some addresses can be blocked |
setFee | Fees can be changed by admin |
upgrade | Logic can be replaced |
onlyOwner | Function is restricted to admin |
burn | Tokens can be destroyed |
None of these automatically means scam. They mean understand the control model before trusting the contract.
Step 9: Check the Write Contract Tab Carefully
The Write Contract tab shows functions that actually change something on-chain when called from a wallet. As a beginner you probably will not use it much, but it is helpful to see what kinds of actions are even possible. You might see things like transfer ownership, pause contract, set parameters, mint tokens, or approve spending.
If you do connect your wallet here, slow down. Read-only inspection is safe. Clicking unknown write functions is not.
Step 10: Look at Token Holders and Distribution
Code is only part of the story. Where the tokens actually live matters just as much.
Pattern | What to Think About |
Large deployer wallet | Concentration risk, one wallet can dump |
Treasury or vesting contracts | Usually normal, but worth checking the unlock schedule |
LP or exchange wallets | Common and expected, just verify context |
Highly fragmented supply | Often healthier, though still not proof of safety |
A verified contract with super concentrated supply can still wreck you on a single sell.
What Etherscan Can and Cannot Tell You
Etherscan is powerful, but it has clear limits. Here is a quick honest breakdown.
Etherscan Can Help You | Etherscan Cannot Guarantee |
Check if source code is verified | That the code is bug-free |
Spot admin control | That the team is honest |
Identify proxy structure | That token economics are healthy |
View token supply basics | That upgrades will be used responsibly |
See whether functions are transparent | That the project will succeed long term |
Think of Etherscan as a transparency tool, not a safety stamp.
Beginner Checklist Before Interacting With a Token Contract
Run through this quick list before you approve anything.
Step | What to Confirm |
1 | Is this the correct official contract address? |
2 | Is the contract verified on Etherscan? |
3 | Does it use a proxy structure? |
4 | Who is the owner or admin? |
5 | Can it mint, pause, blacklist, or upgrade? |
6 | Does the token supply look concentrated? |
7 | Does the project explain these controls clearly? |
If you are going to approve token spending later, pair this with good approval hygiene. A hardware wallet like Ledger plus regular permission cleanups makes a real difference.
Final Thought
Learning to inspect a contract on Etherscan is one of the most practical skills you can pick up early in crypto. It teaches you to slow down before trusting a token, a DeFi app, or any smart contract with your money. You do not need to become a developer. You just need to know where to look and what questions to ask.
A verified contract is a useful signal. A proxy contract deserves extra attention. An admin-controlled contract deserves even more. Once you build the habit, Etherscan stops feeling intimidating and starts feeling like a tool that works for you.
FAQ
What does verified contract mean on Etherscan?
It means the project submitted source code that Etherscan matched to the live bytecode, so anyone can read what the contract is supposed to do.
Is a verified contract safe?
Not on its own. Verification means you can see the code, not that the code is trustworthy.
What is a proxy contract?
A proxy is a contract you interact with that points to a separate logic contract behind it, which means the actual behavior can be upgraded.
How do I check who controls a contract?
Open the Read Contract tab and look for fields like owner, admin, implementation, or proxy admin.
Do I need to know how to code to use Etherscan?
Not at all. Most useful checks come from reading labels, checking owner roles, and noticing proxy structure.
What should I check before approving a contract?
Confirm the official address, verified status, admin powers, proxy setup, and whether the contract can mint, pause, or upgrade.
Disclaimer
This content is for educational and informational purposes only and is not financial advice. Nothing here is a recommendation to buy or sell any asset or use any platform. Do your own research and manage your risk.
Read more
Need deeper training?
Join our structured modules with live examples and expert checklists for effective implementation.
JOIN THE ACADEMY