Valora Wallet Tutorial
Contents:
- How To Sign Up For A New Valora Wallet
- Backing Up Your Wallet
- Adding CELO
- Withdrawing CELO
- Sending CELLO
- Receiving CELO
- Earn cUSD
- Invite a Friend
1. How To Set Up A New Valora Wallet
Valora is a new mobile wallet and global payments app that makes sending, saving, and spending crypto as easy as sending a text.
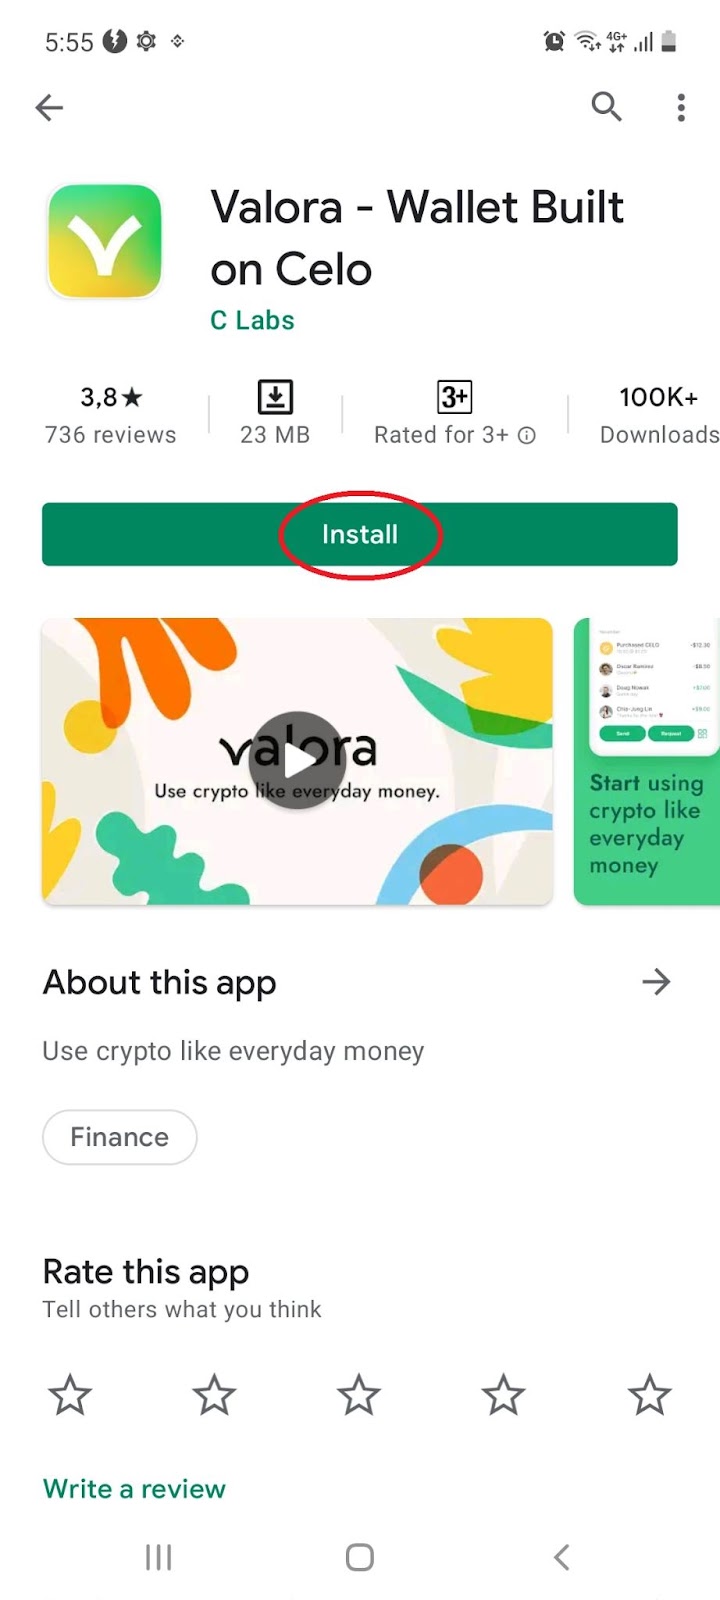
1.1 Install the free app on mobile, iOS or Android:
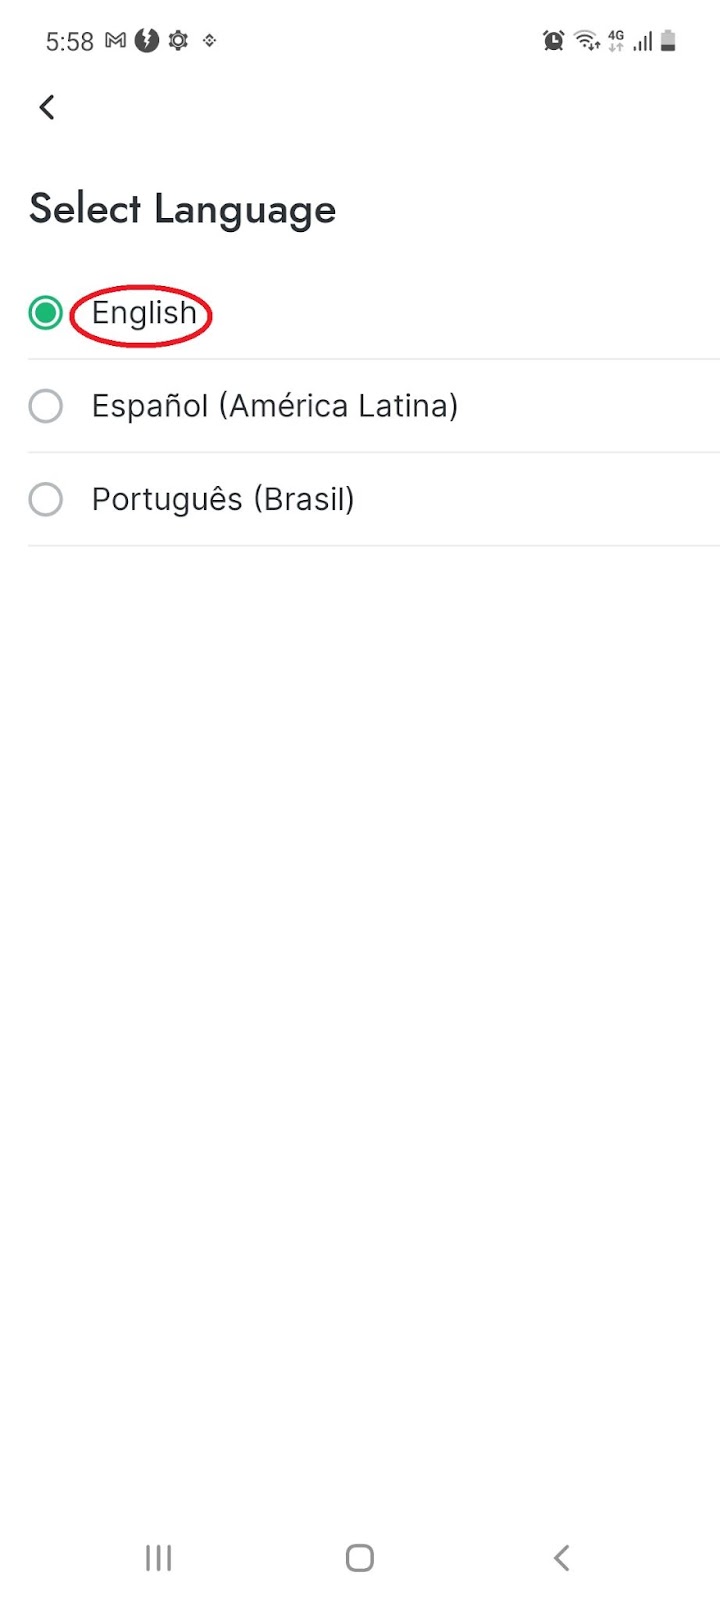
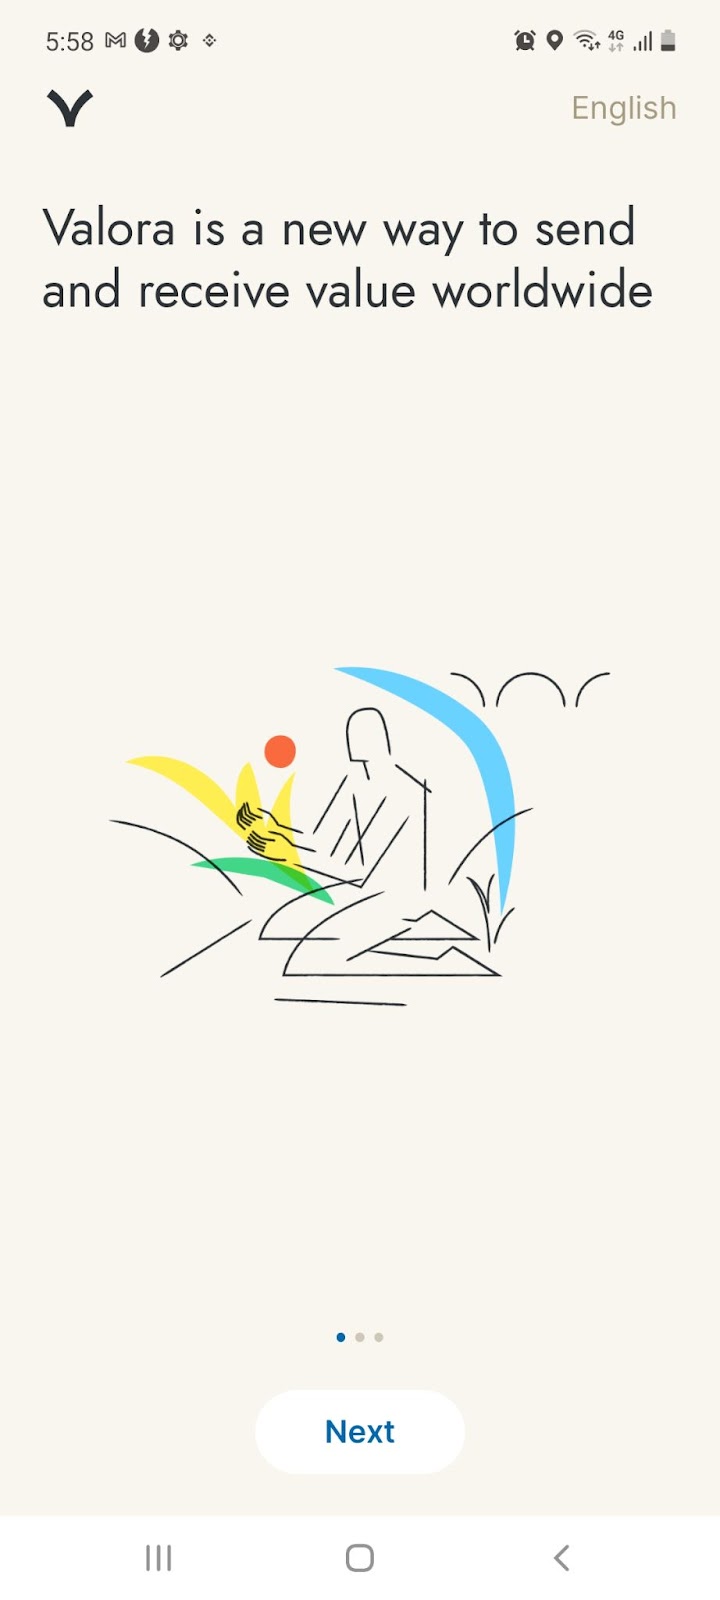
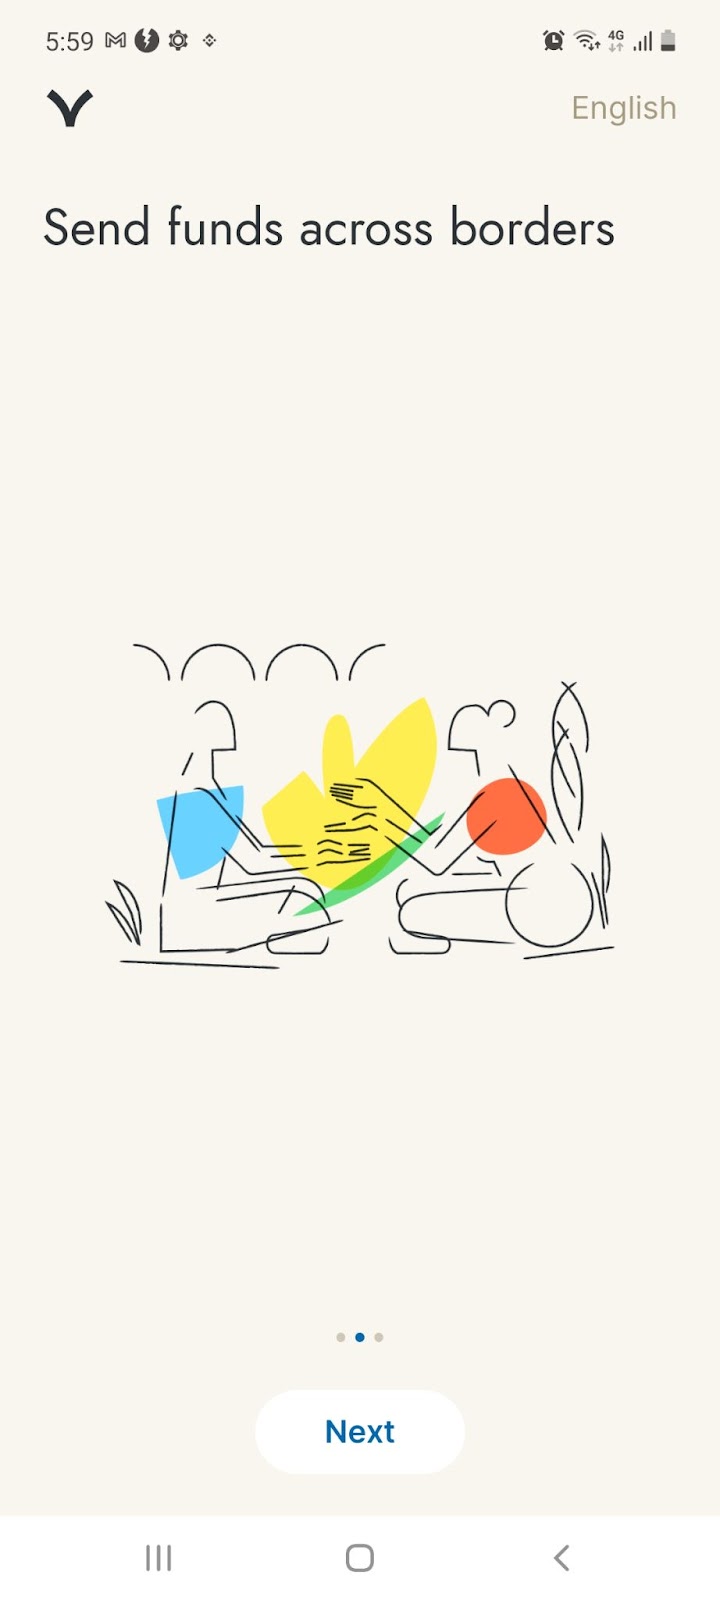
1.2 Once installed, open the app, select your preferred language, and scroll across to get started:
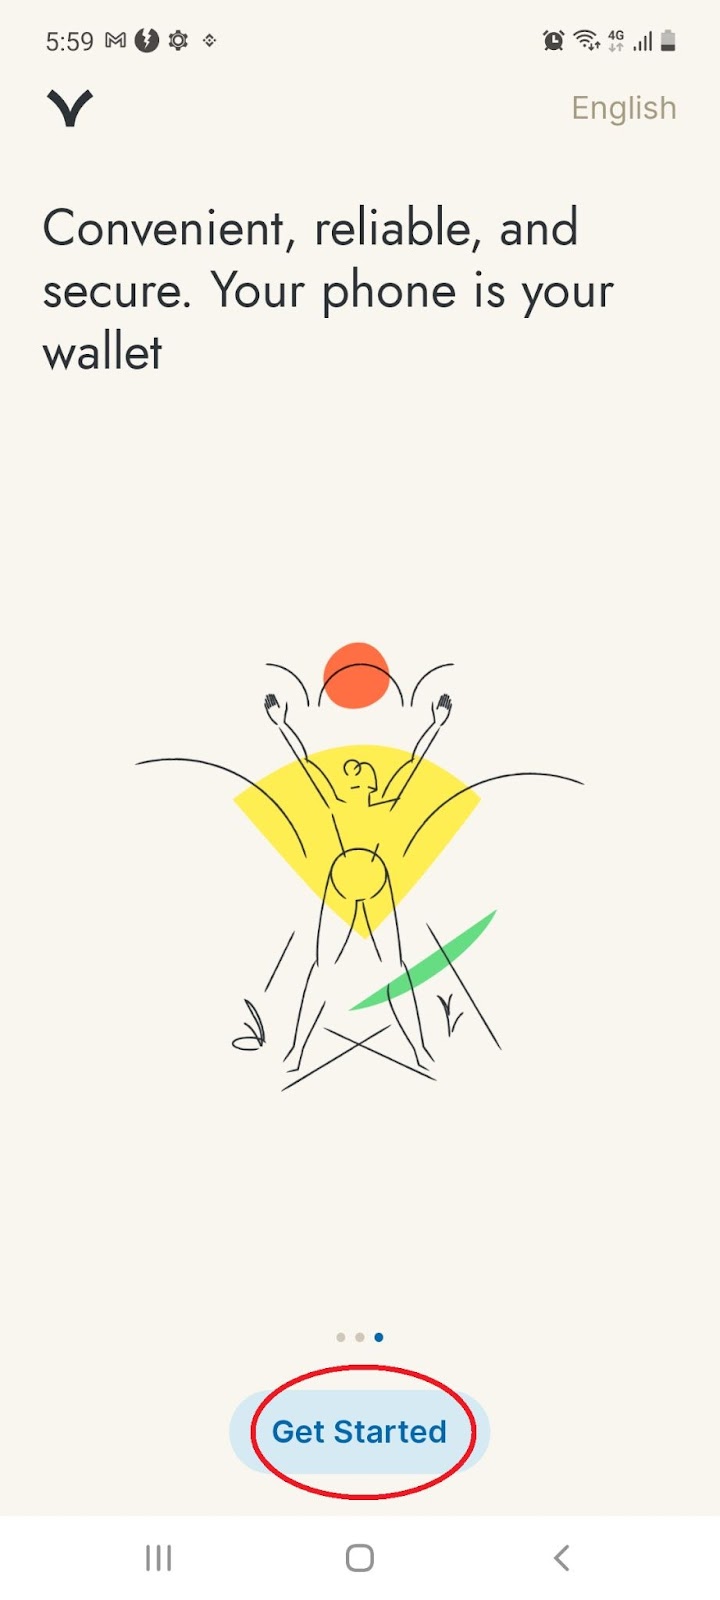
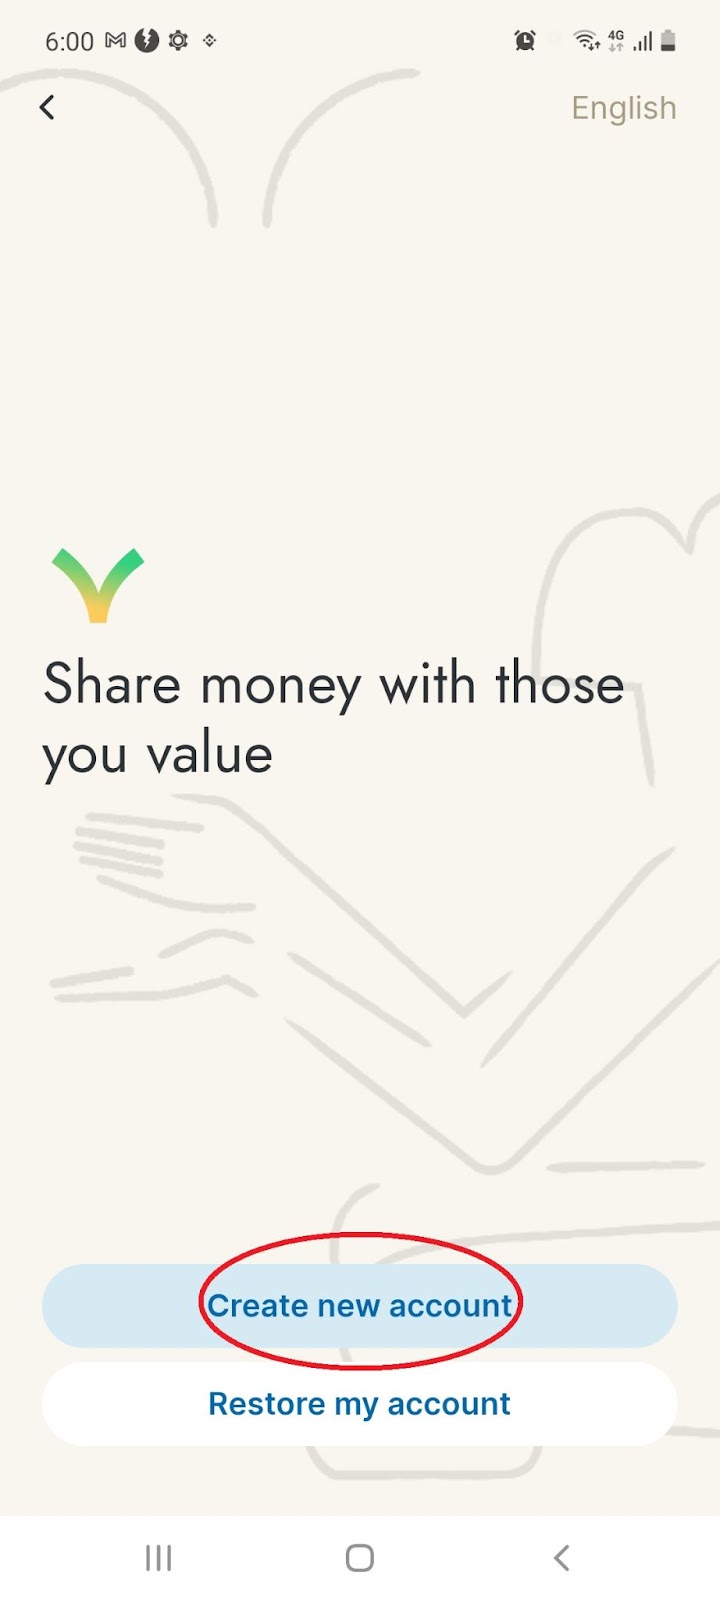
1.3 Select ‘Create a new account’:
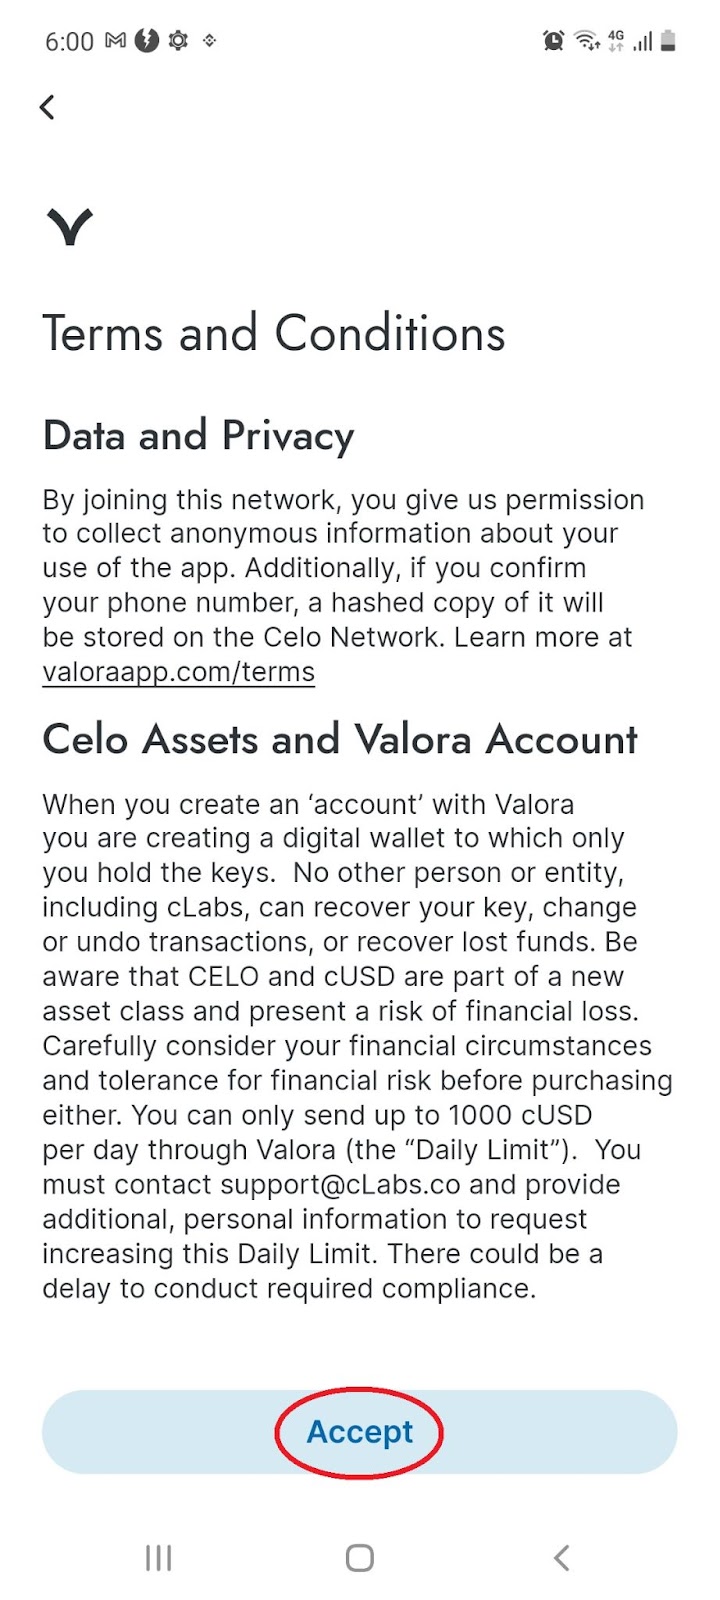
1.4 Review the legal terms and conditions, and click ‘Accept’:
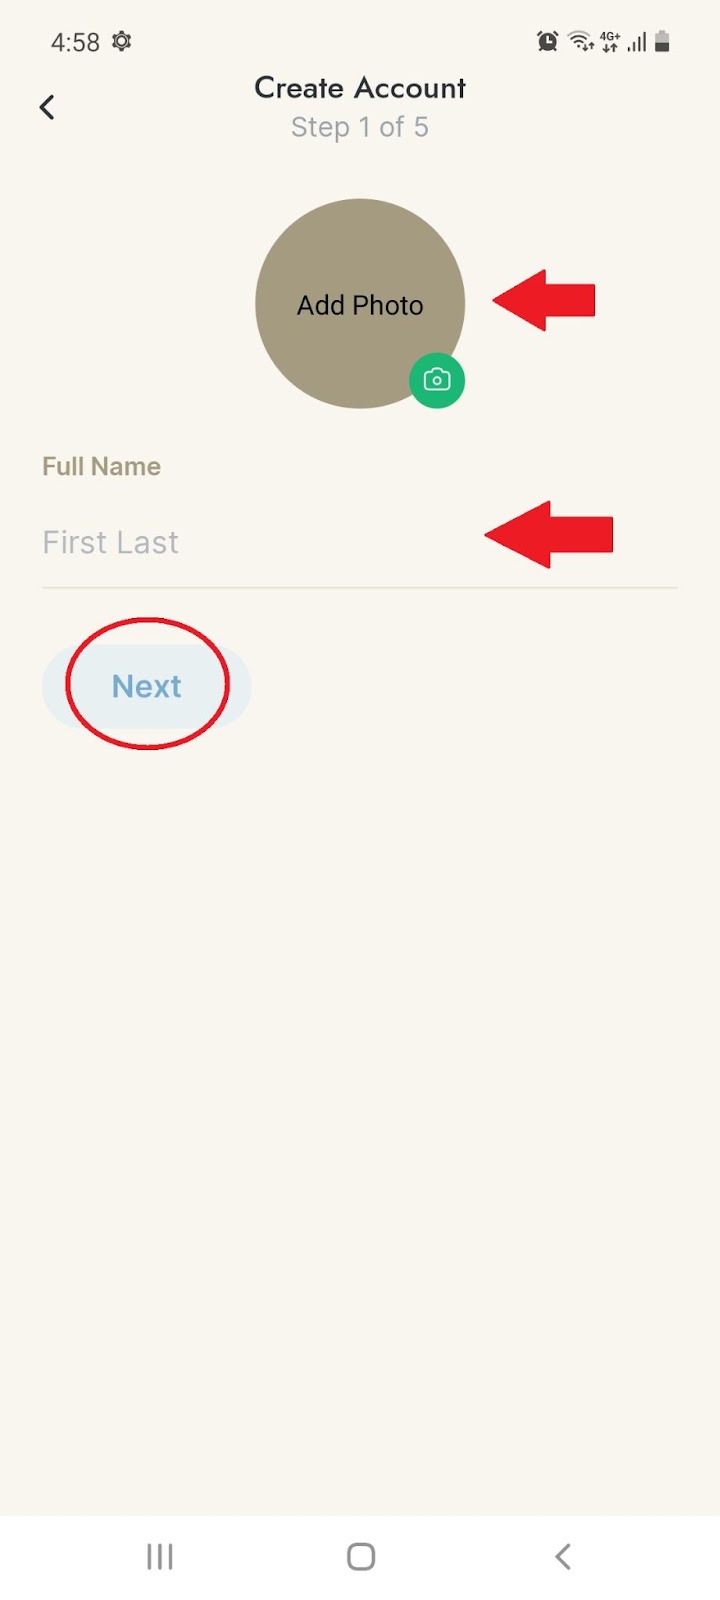
1.5 Fill in your full name, add your profile picture (optional) and click ‘Next’:
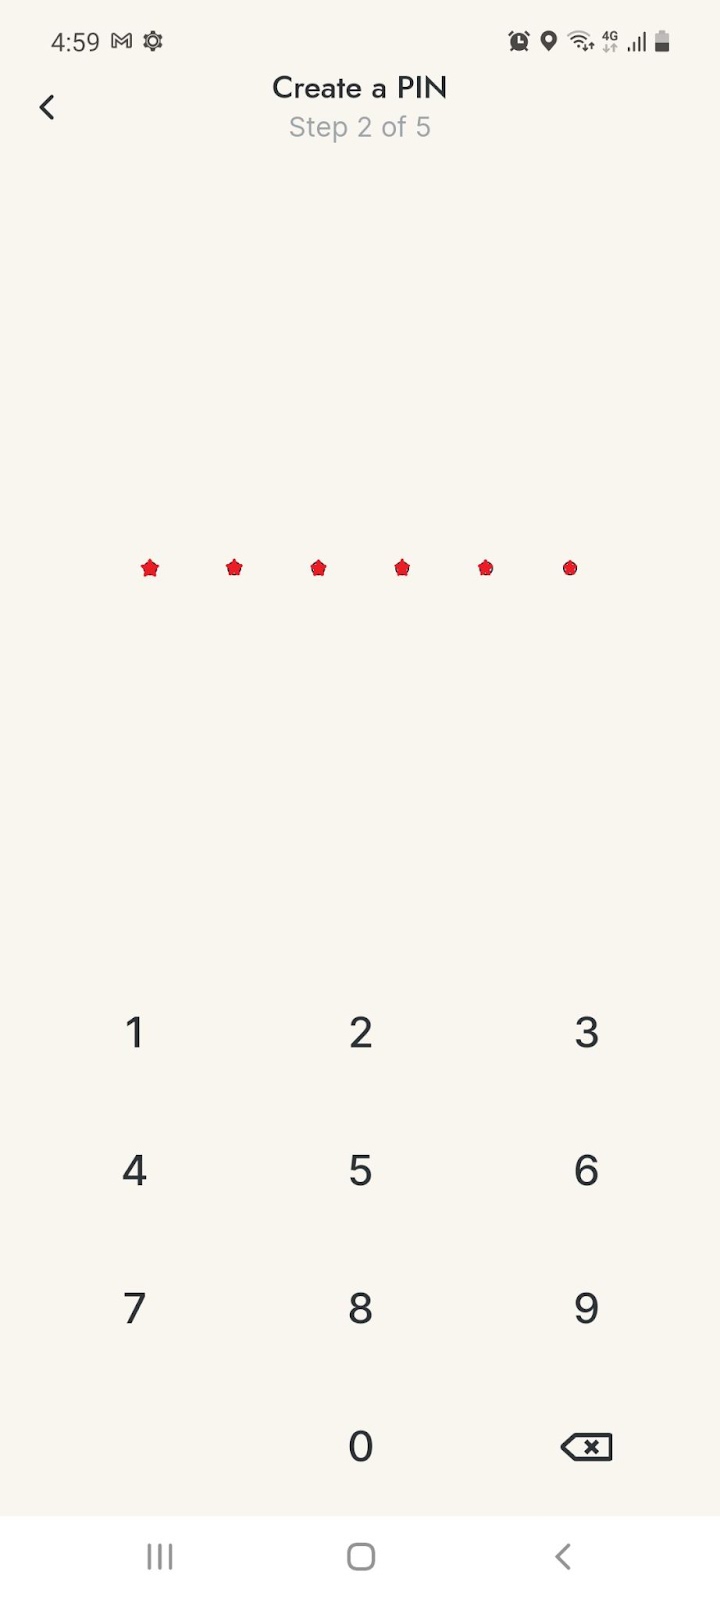
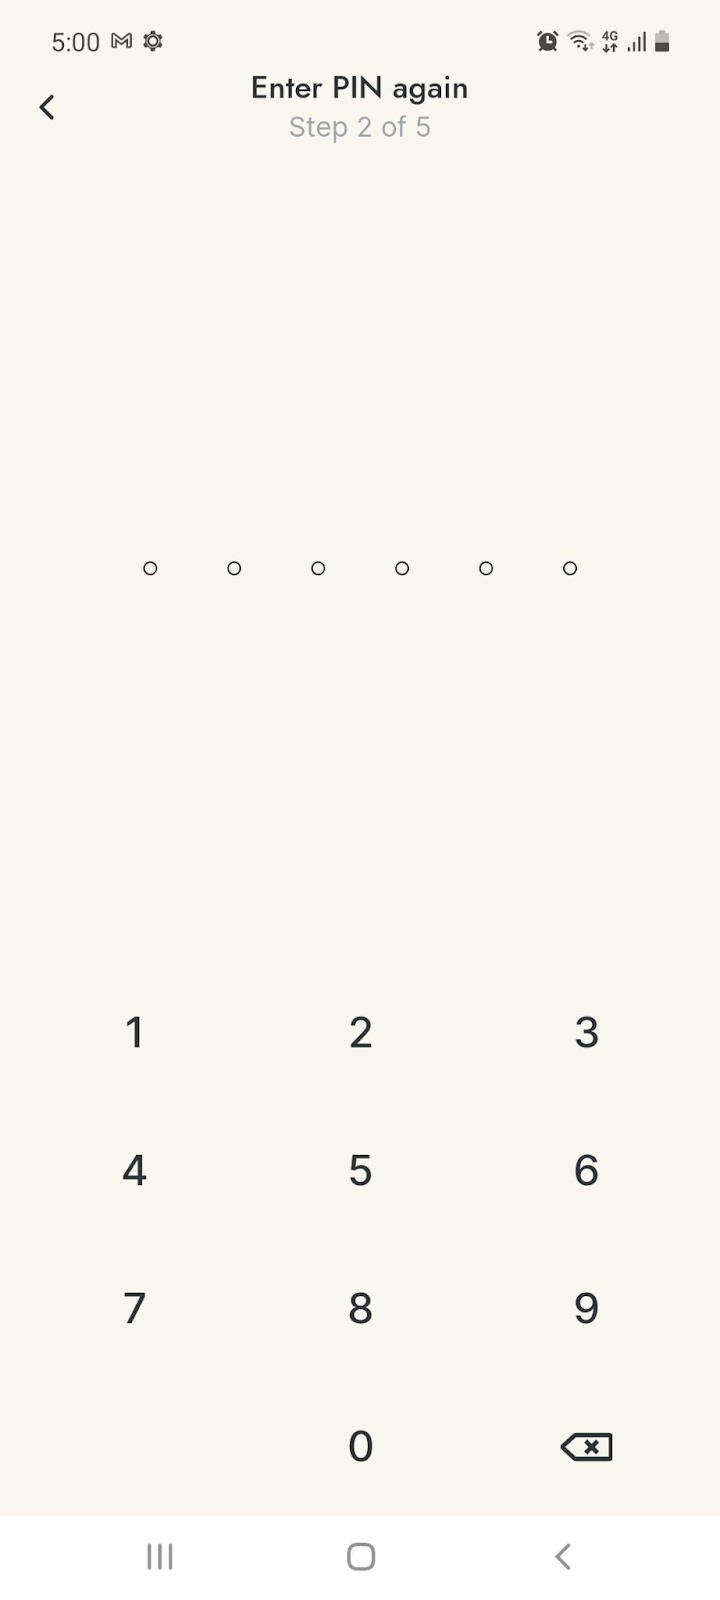
1.6 You’ll be prompted to ‘Create a 6 digit pin’:
1.7 Then confirm your 6 digit pin:
1.8 Connect your cell phone number and click ‘Start’:
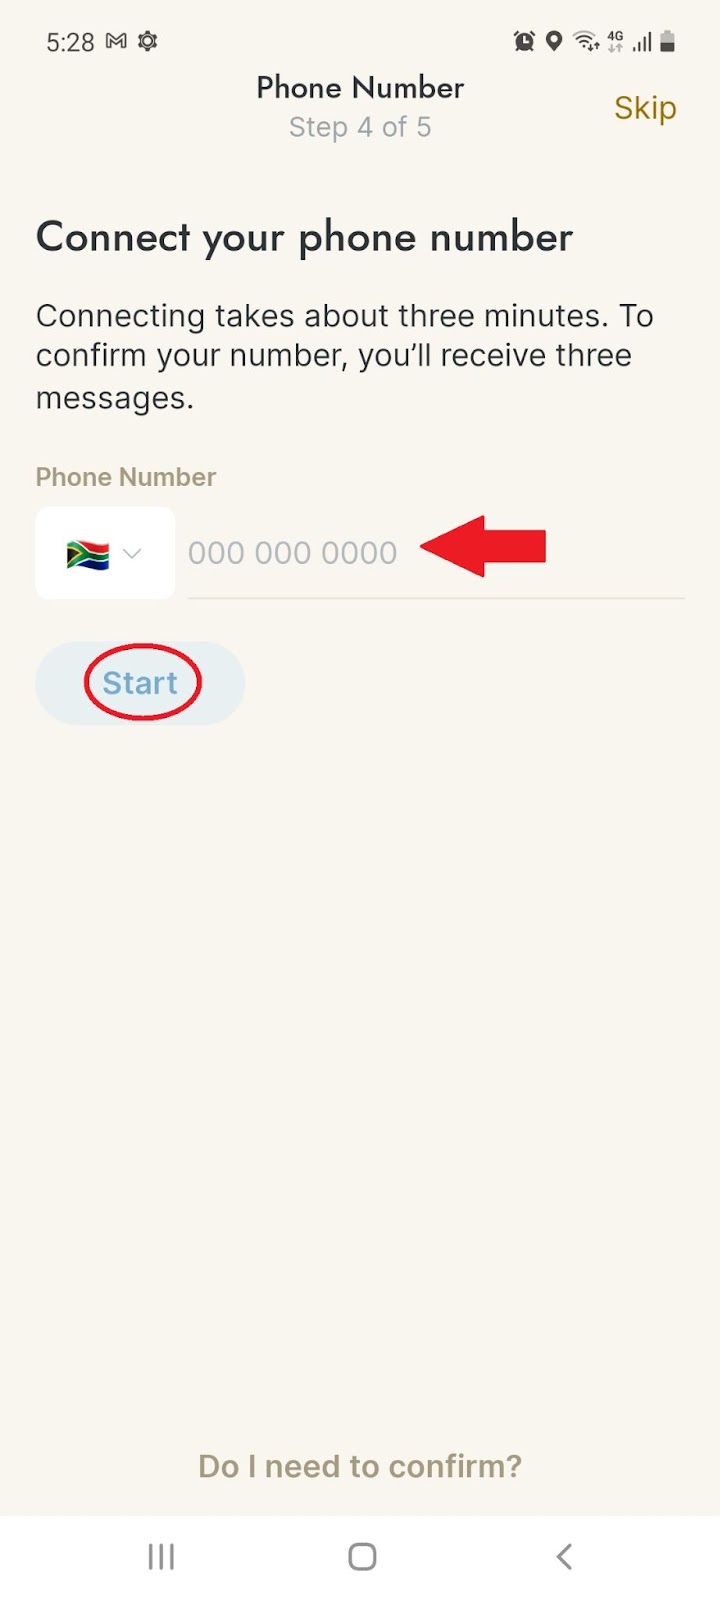
Note: Connecting takes about 3 minutes. To confirm your number, you’ll receive three messages. This process will include entering your pin number, and proving that you’re not a robot.
1.9 Once you have connected your phone number, click ‘Connect’ to give Valora permission to access your contacts:
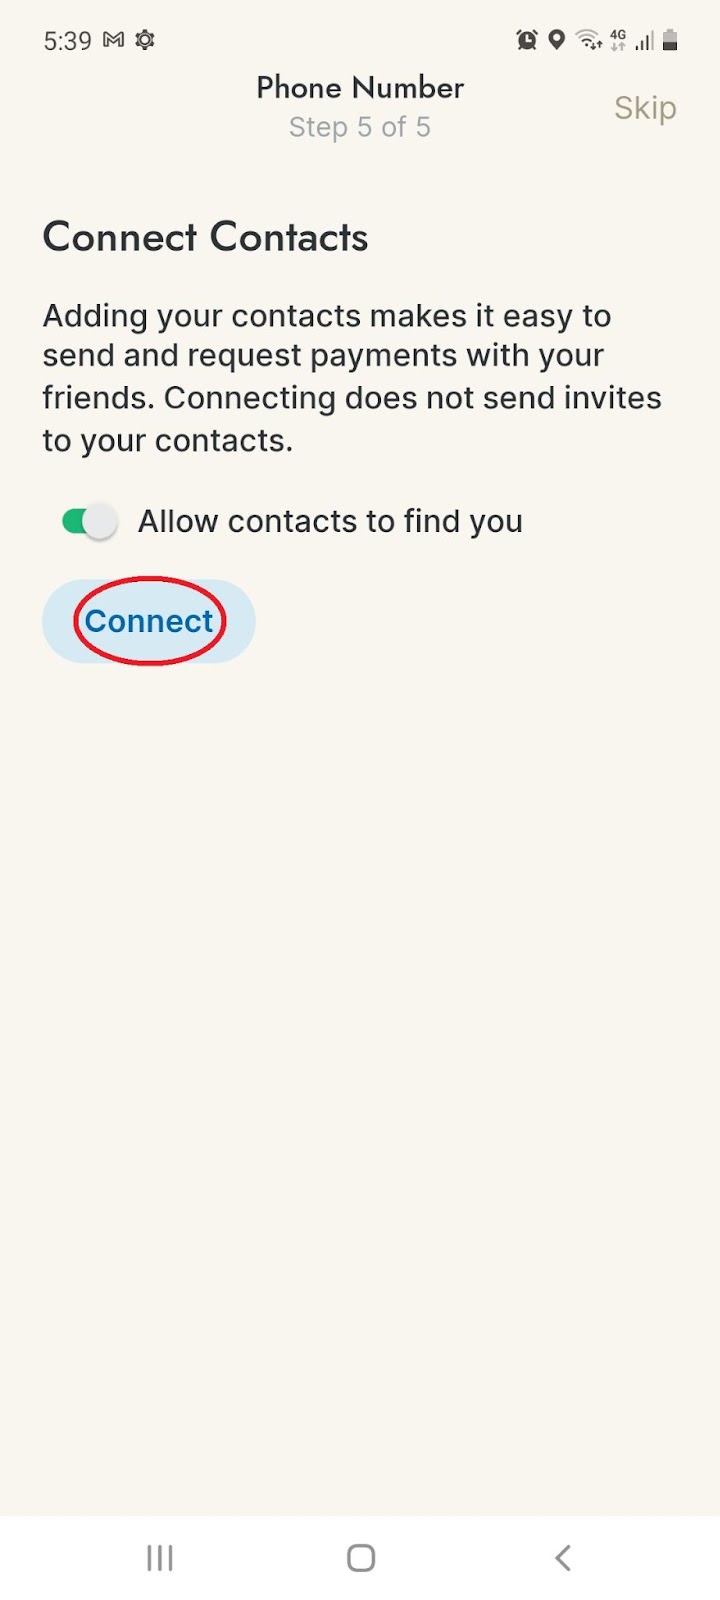
Note: A pop-up confirming your permission will appear, select ‘Allow’ and you will be redirected to the home page.
2. Back Up Your Wallet
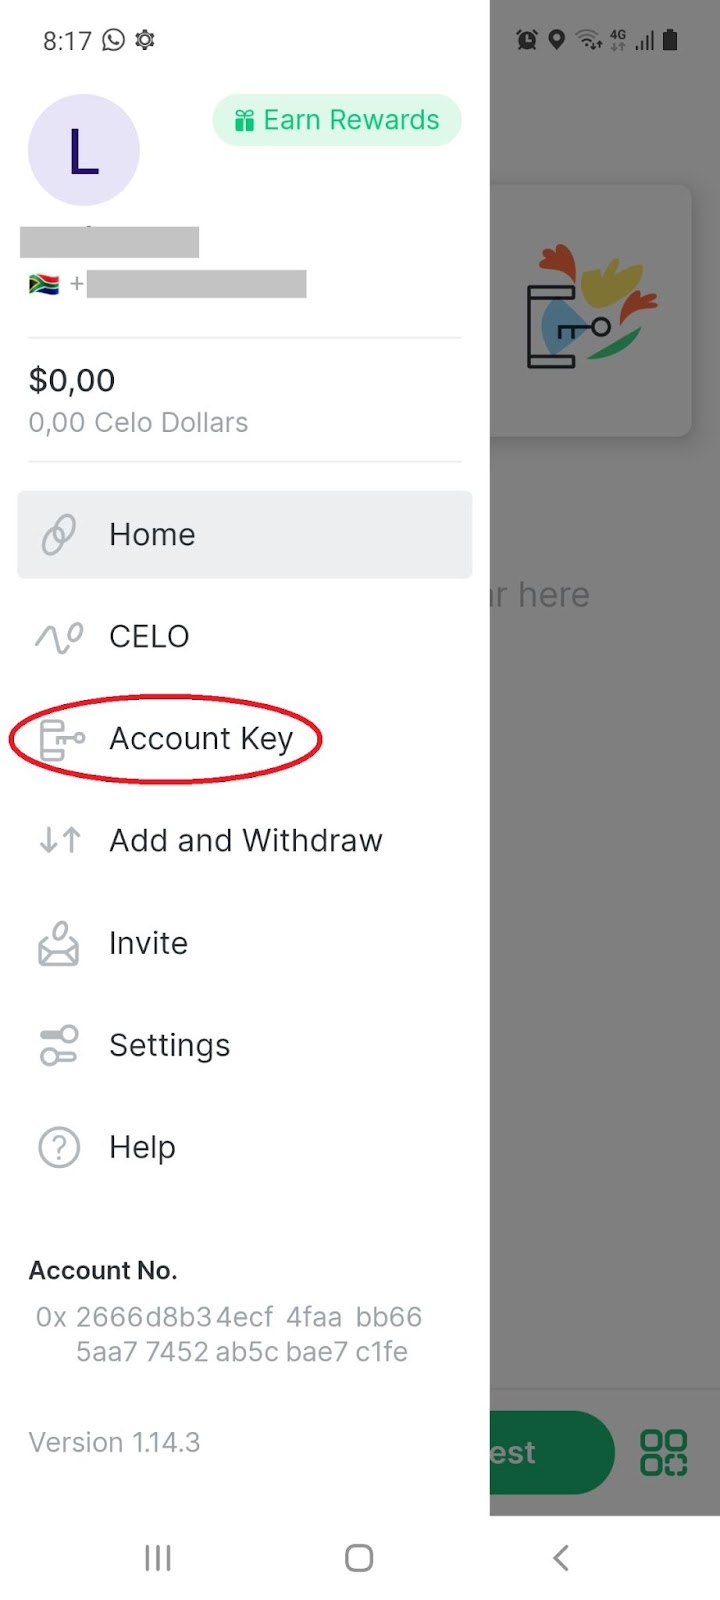
2.1 On the home page of wallet, select the ‘Menu’ icon:

2.2 On the menu bar, select ‘Account Key’:
Note: You will be prompted to enter your 6 digit pin before you can proceed to the next step.
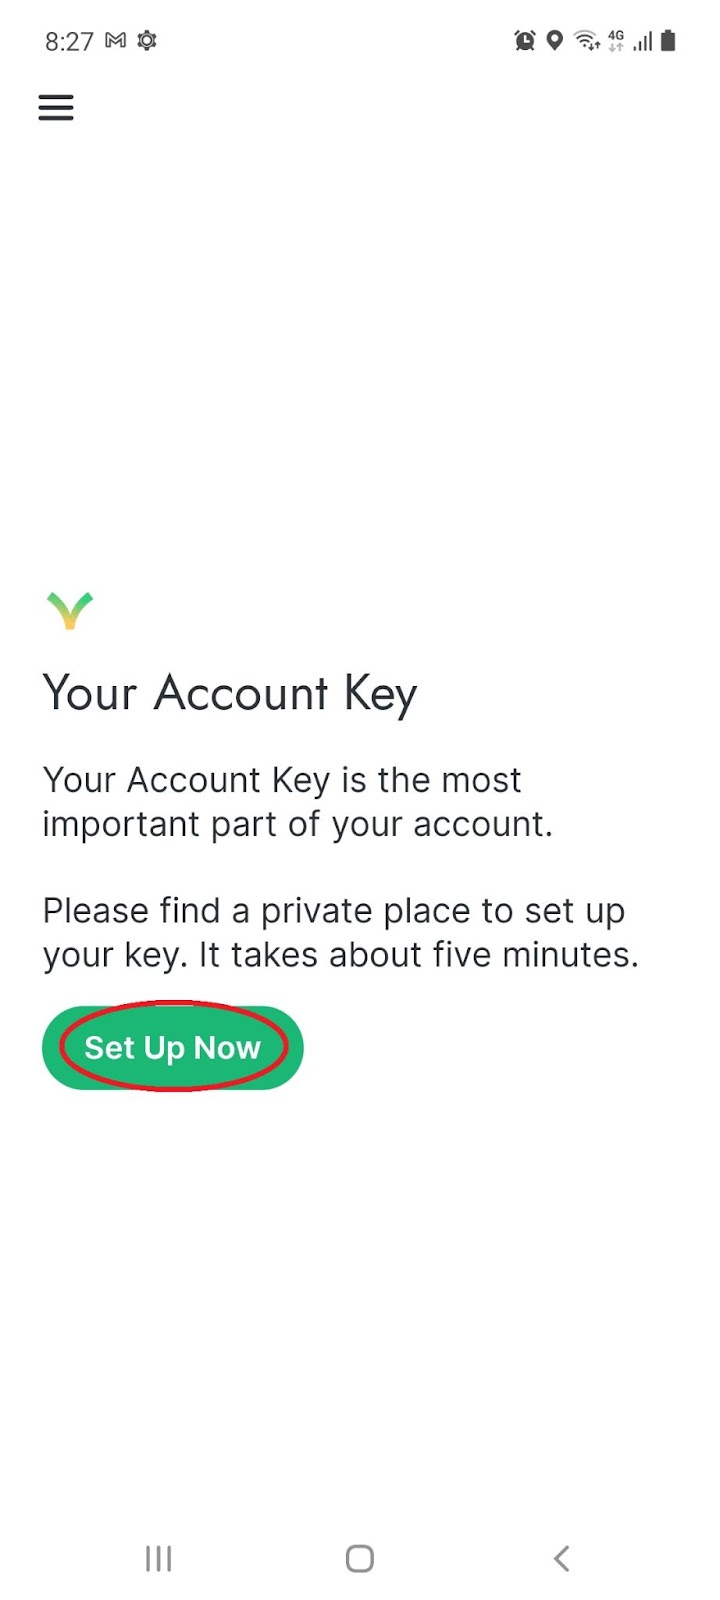
2.3 Select ‘Set up now’:
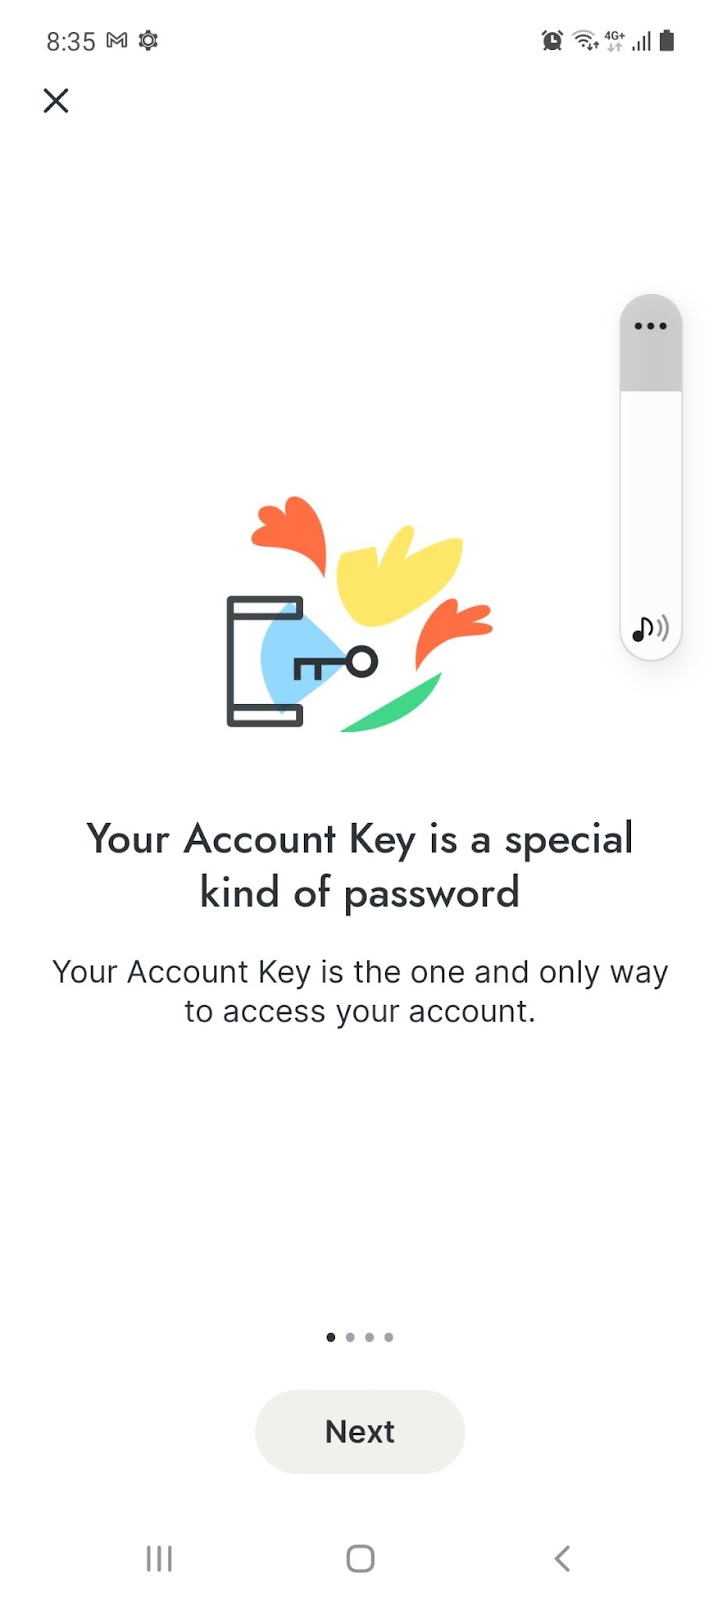
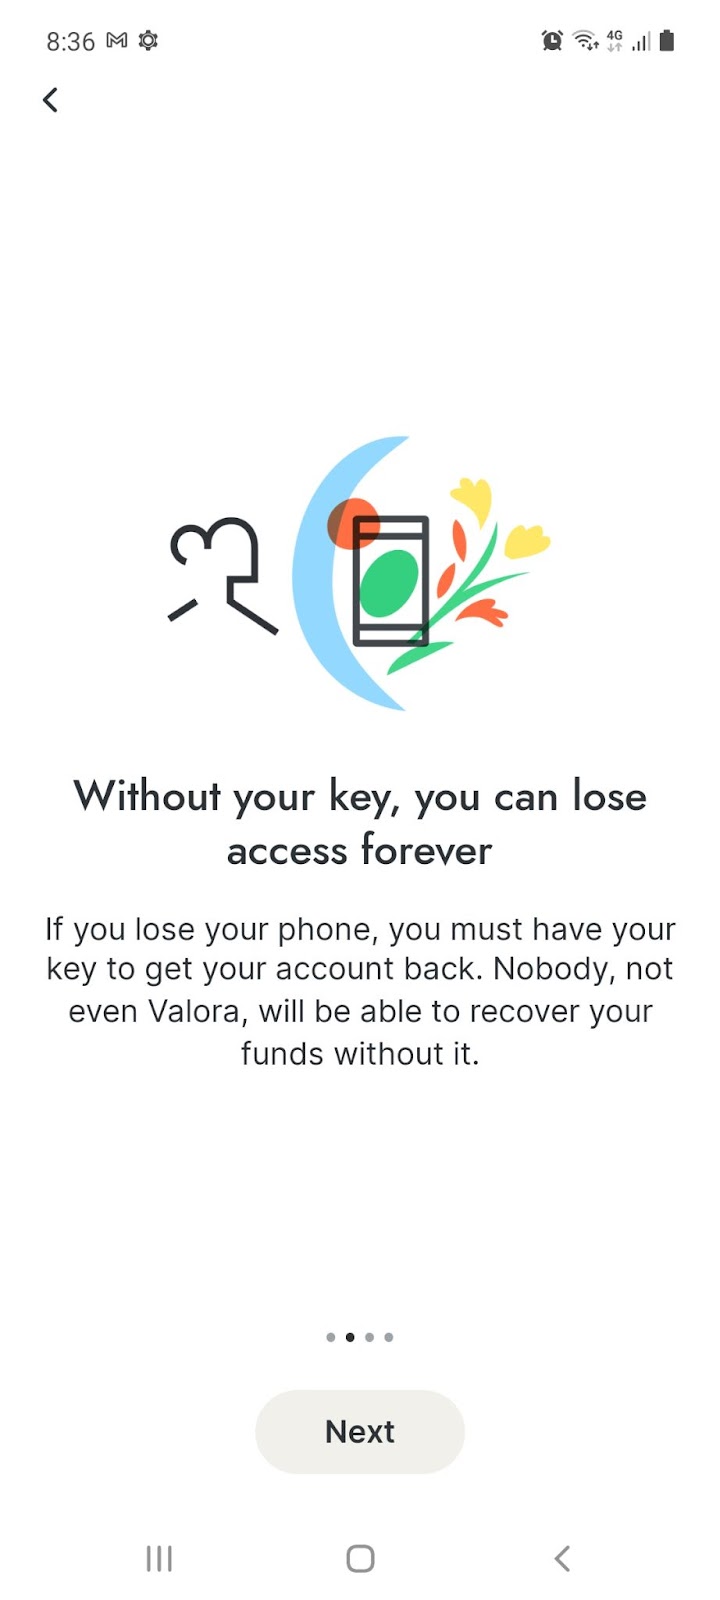
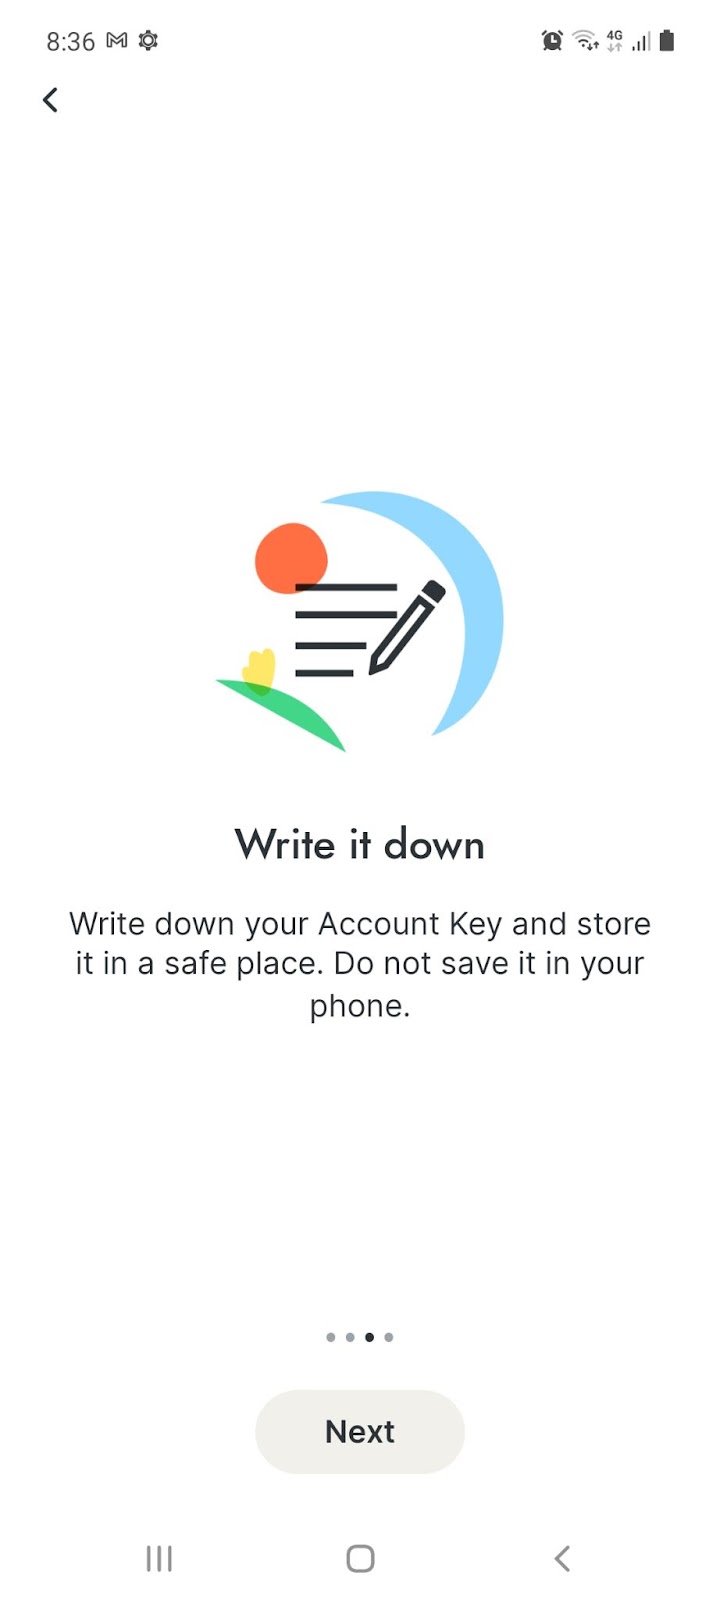
2.4 Scroll across, then select ‘I Understand’:
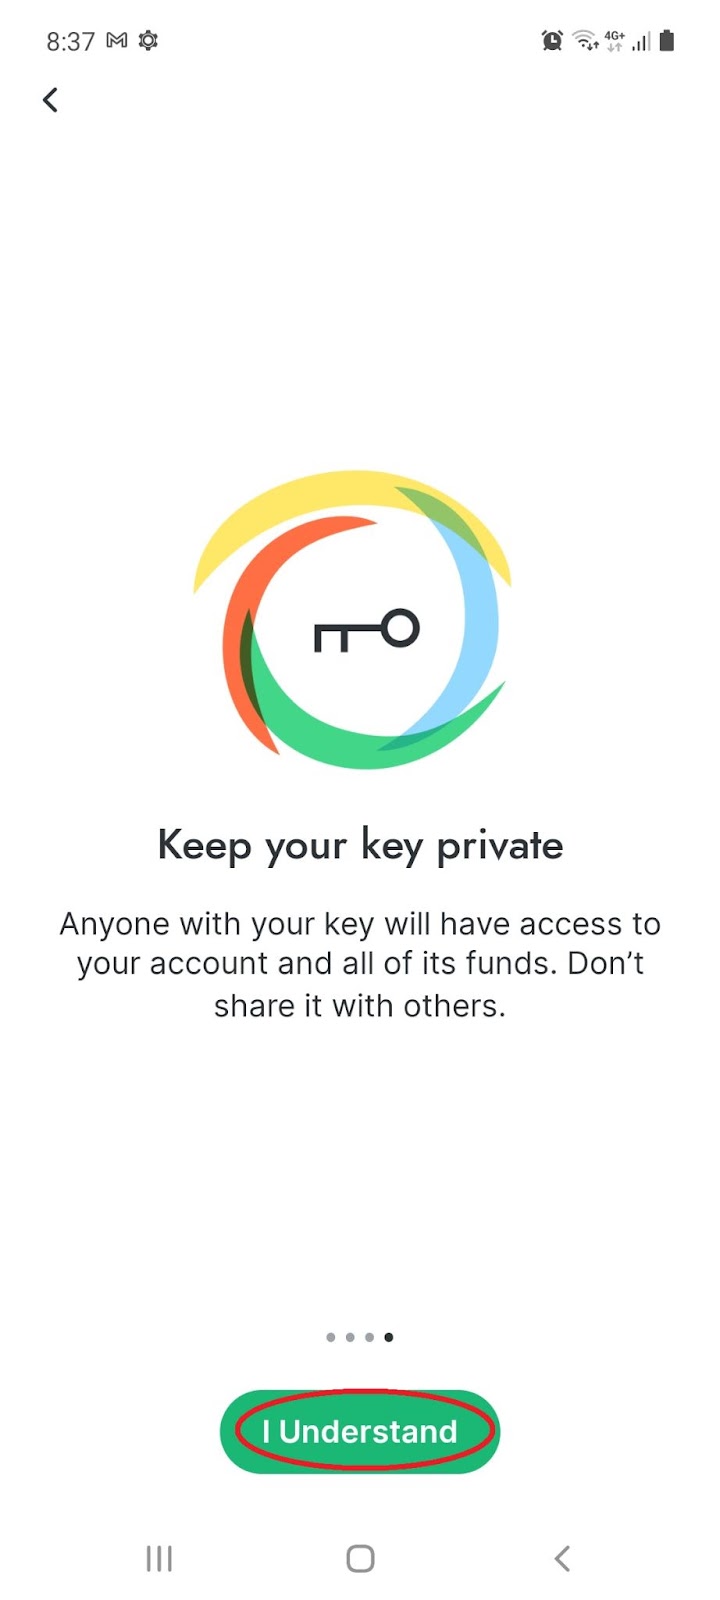
Note: You will be prompted to enter your 6 digit pin in order to proceed.
2.5 Your account key will appear, write it down, and click ‘Continue’:

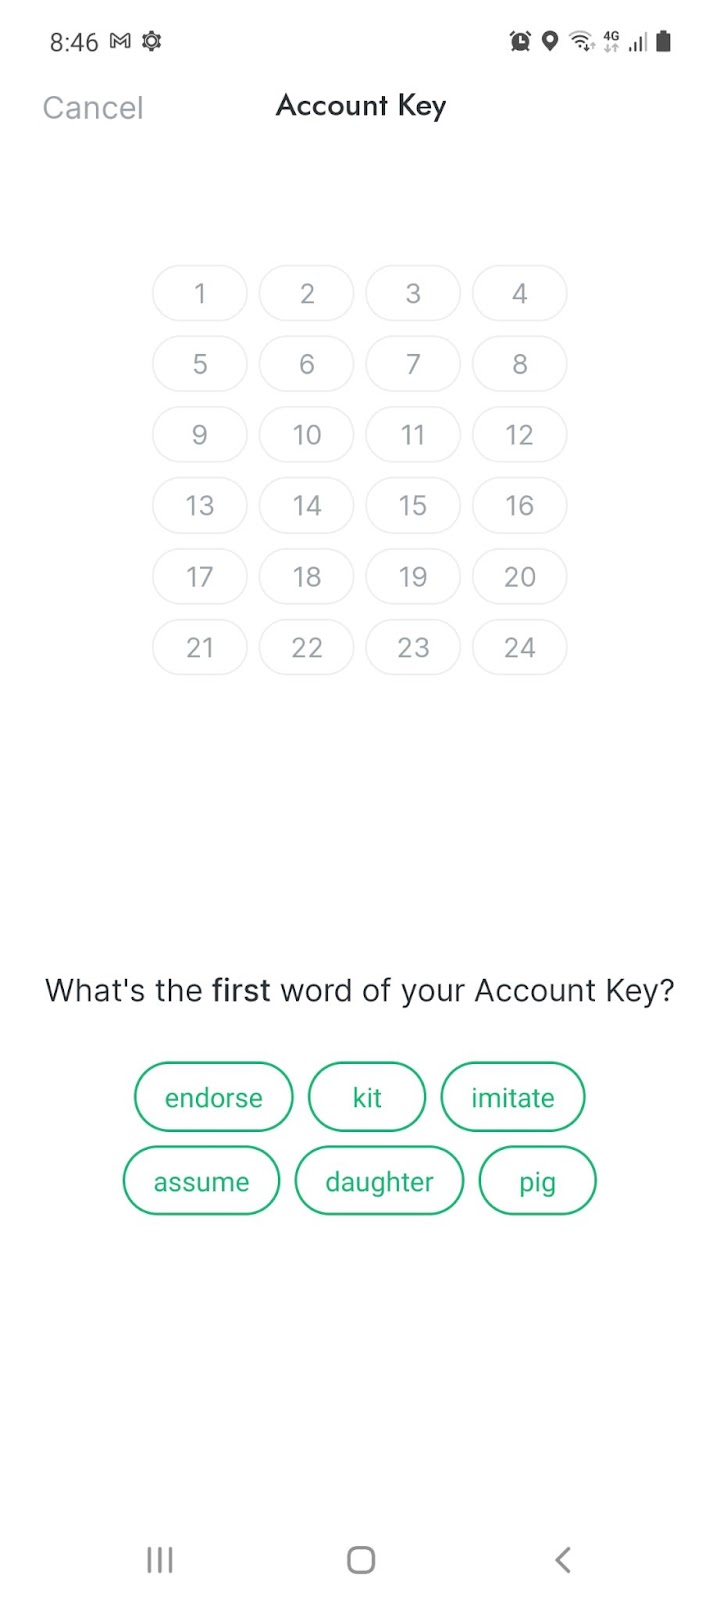
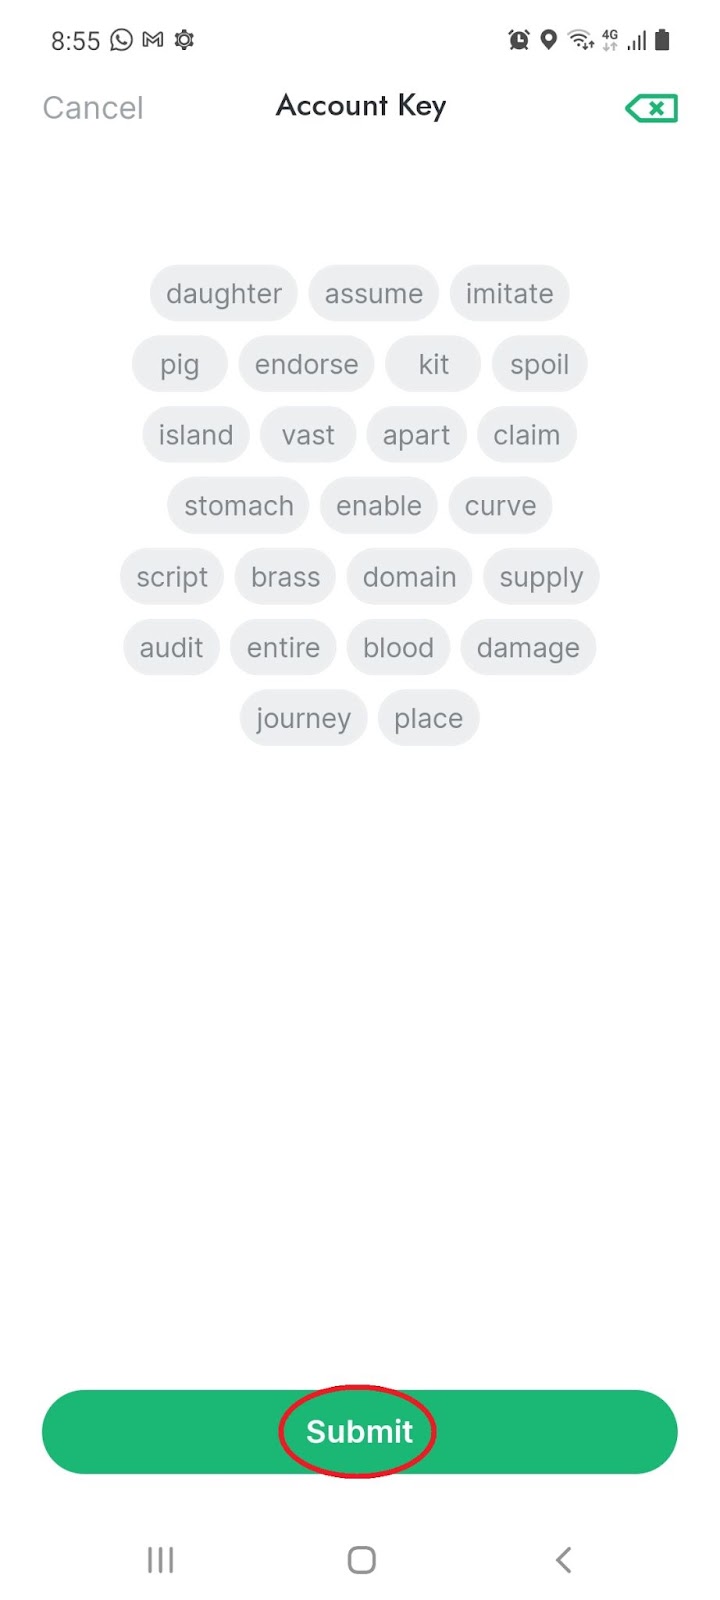
2.6 You will be prompted to enter the 24 words of your account key in the order in which they appeared:
2.7 Once completed, click ‘Submit’:
NB: Valora Wallet generates a 24-word recovery phrase, known as your Account Key. You and only you have access to it. This means that if you lose your Account Key, you will lose complete access to your Valora Wallet, including your funds.
3. Adding CELO or cUSD
There are currently a few different options for adding funds to Valora. These options have varying support for CELO and Celo Dollars (cUSD), and only support certain regions or countries
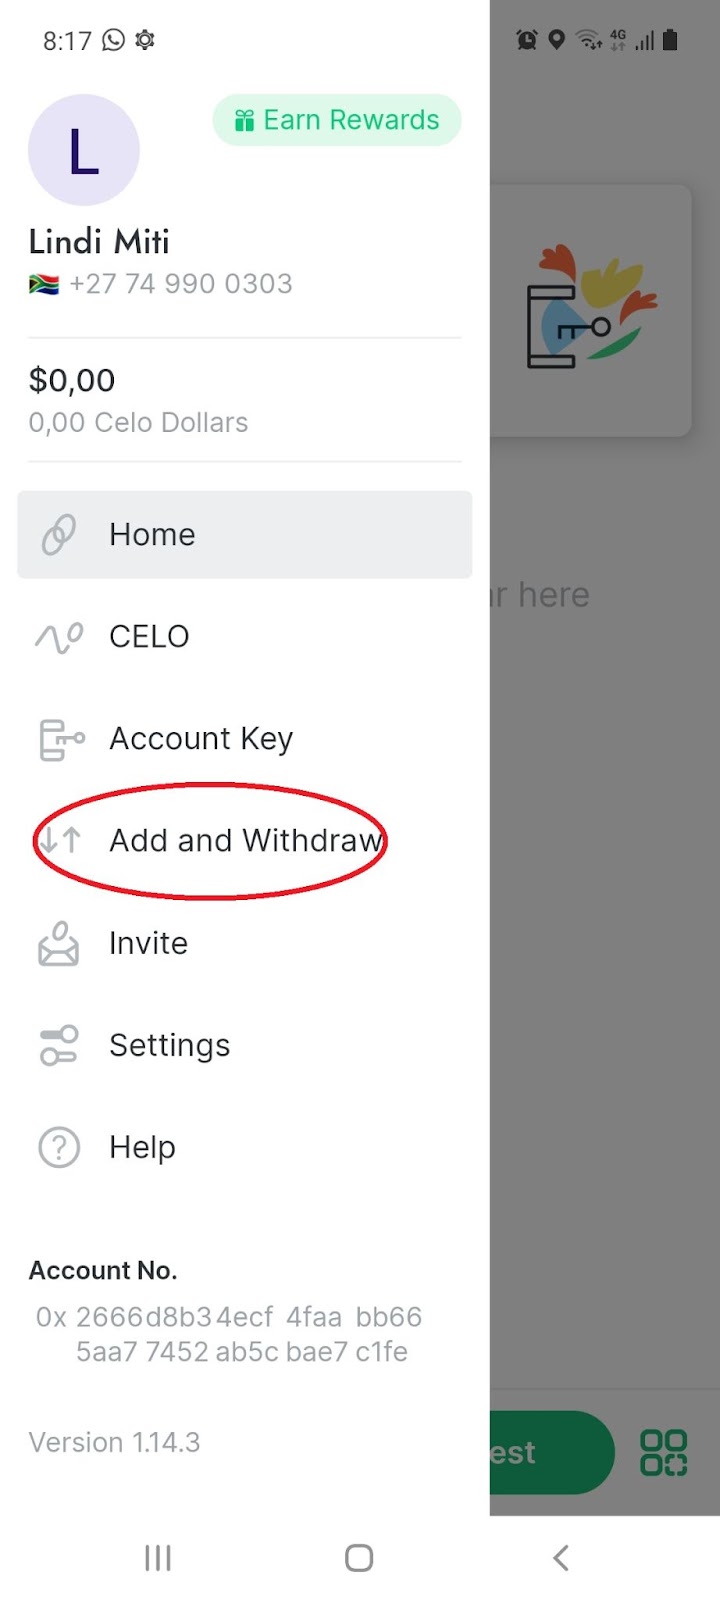
3.1 On the home page, select the ‘Menu’ icon:
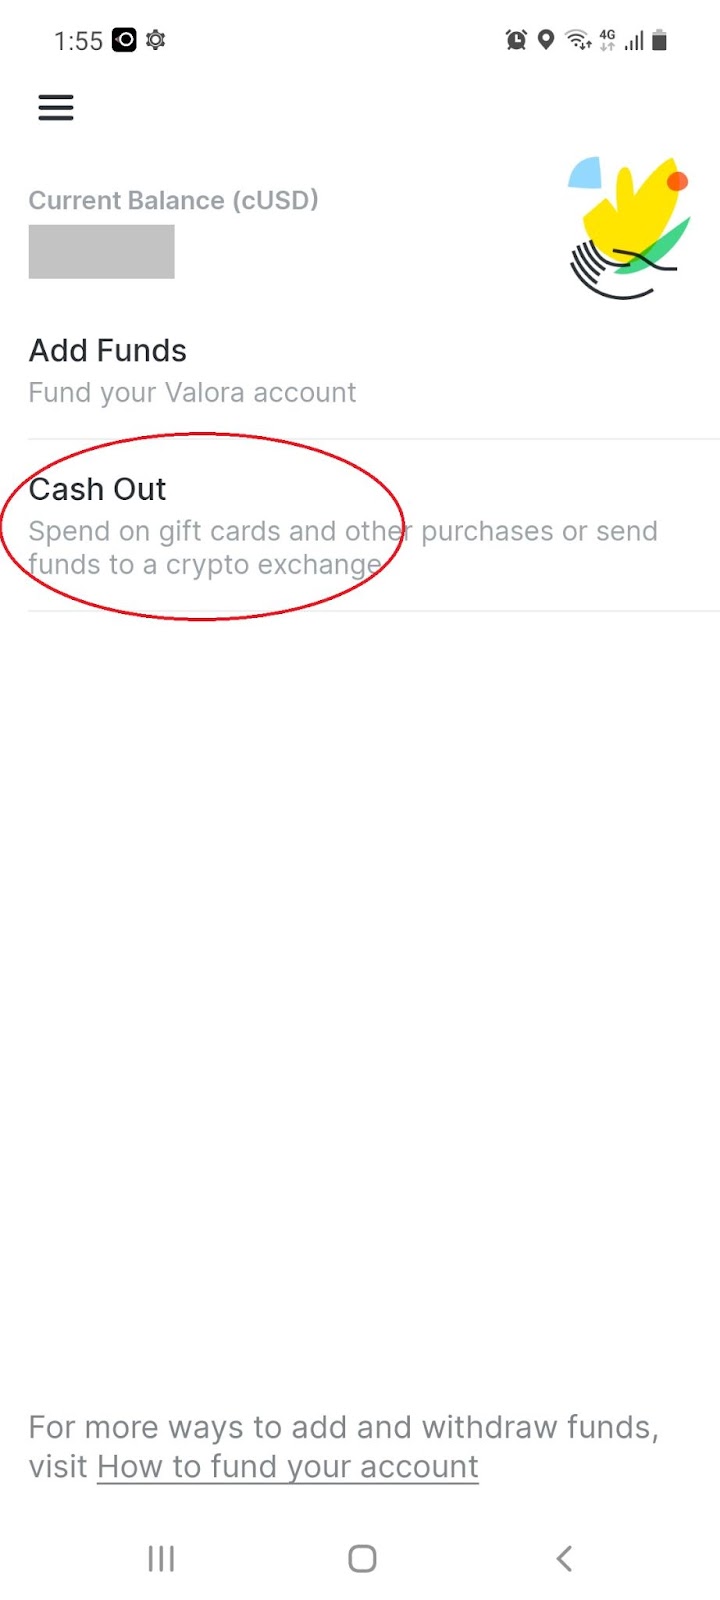
3.2 On the menu bar, select ‘Add and Withdraw’:
3.3 Select ‘Add Funds’:

3.4 Select the currency (CELO or cUSD) you want to add, and then select your preferred payment method and click ‘Next’:
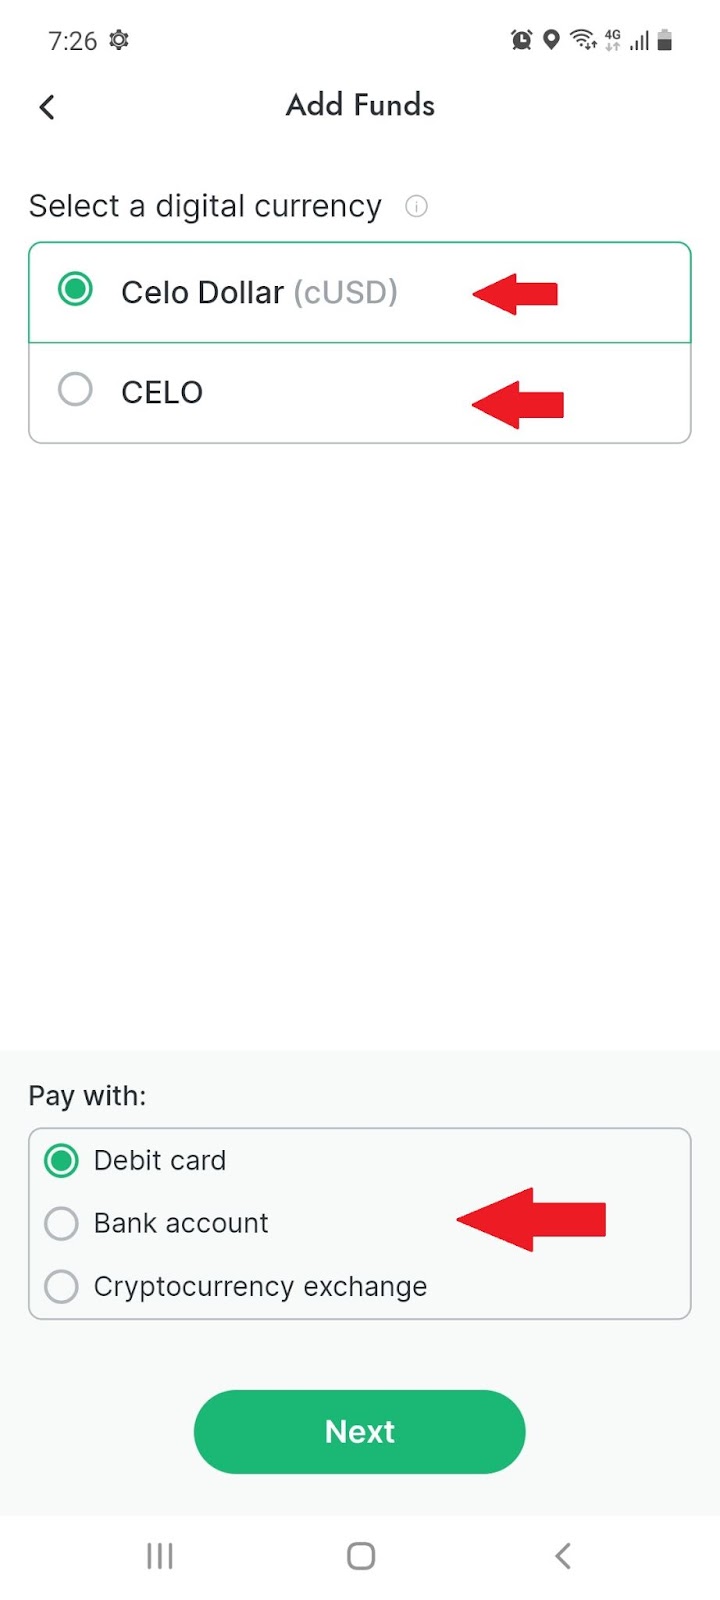
Note: You can buy CELO or cUSD using a debit card, bank account or a cryptocurrency exchange. You will be redirected to an external webpage to continue the process.
4. Withdrawing Celo or cUSD
4.1 On the home page, select the ‘Menu’ icon:

4.2 On the menu bar, select ‘Add and Withdraw’:
4.3 Select ‘Cash Out’’:
4.4 Select the currency (CELO or cUSD) you want to withdraw, and then select your preferred receiving method and click ‘Next’:
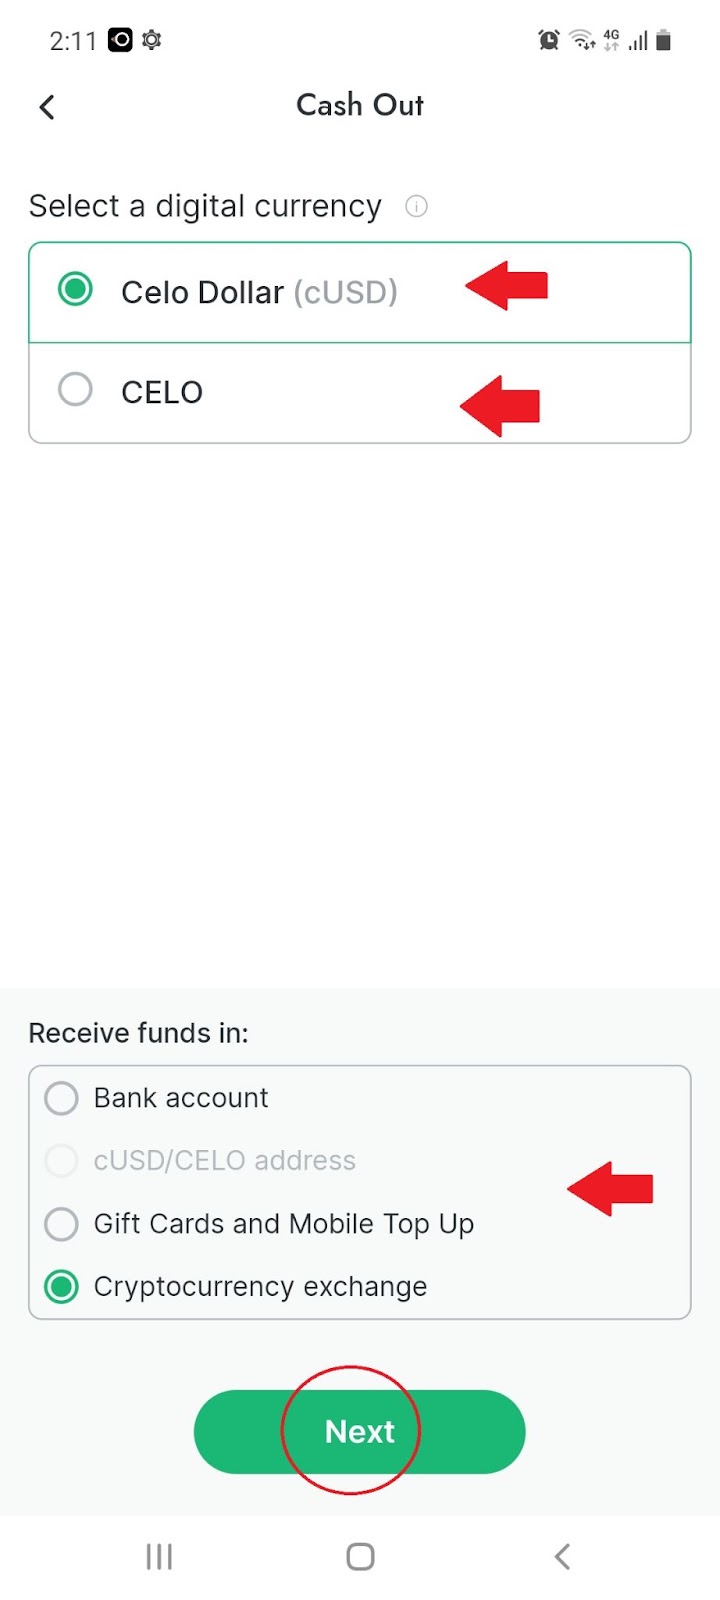
Note: You can receive CELO or cUSD to your bank account, gift cards or a cryptocurrency exchange. You will be redirected to an external webpage to continue the process.
5. Send CELO or cUSD
5.1 On the home page, select ‘Send’:
5.2 Select a name from your list of contacts:

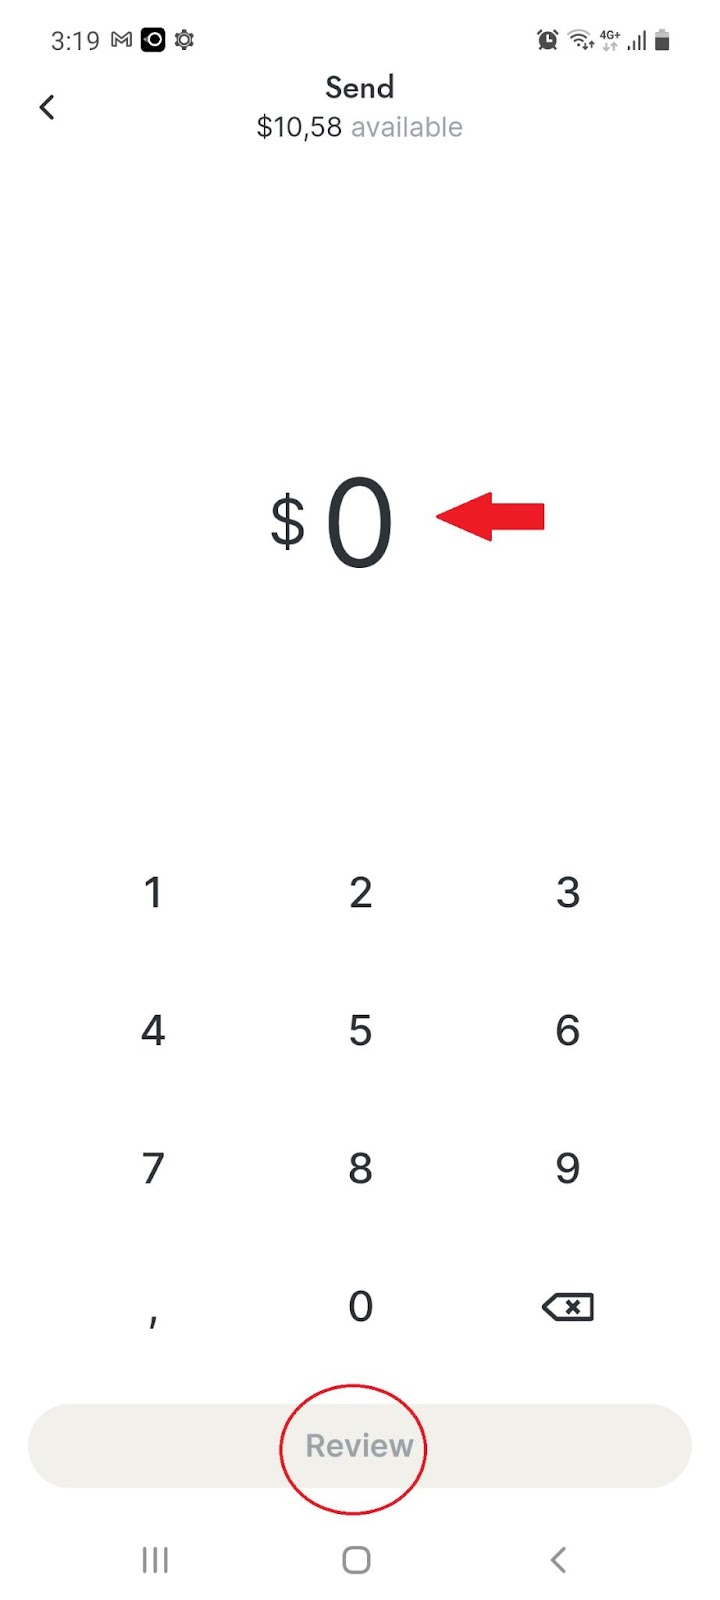
5.3 Enter the amount you would like to send and click ‘Review’:
5.4 Select ‘Send & Invite’:
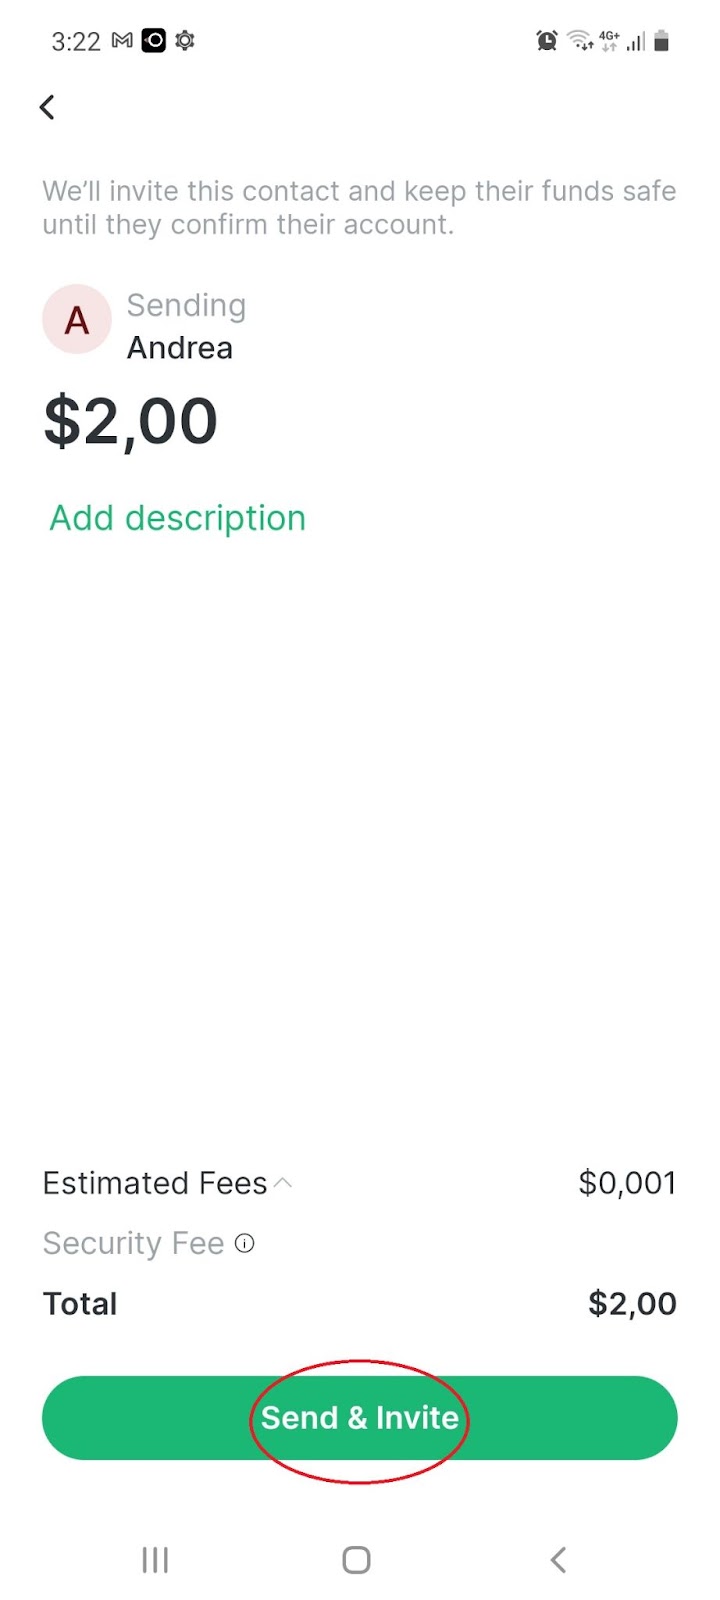
Note: If your contact does not have a Valora Account, Valora will send an invite, and keep their funds in escrow until they sign up and confirm their account to receive the funds.
A transaction fee of 0,001% will be charged.
6. Request CELO or cUSD
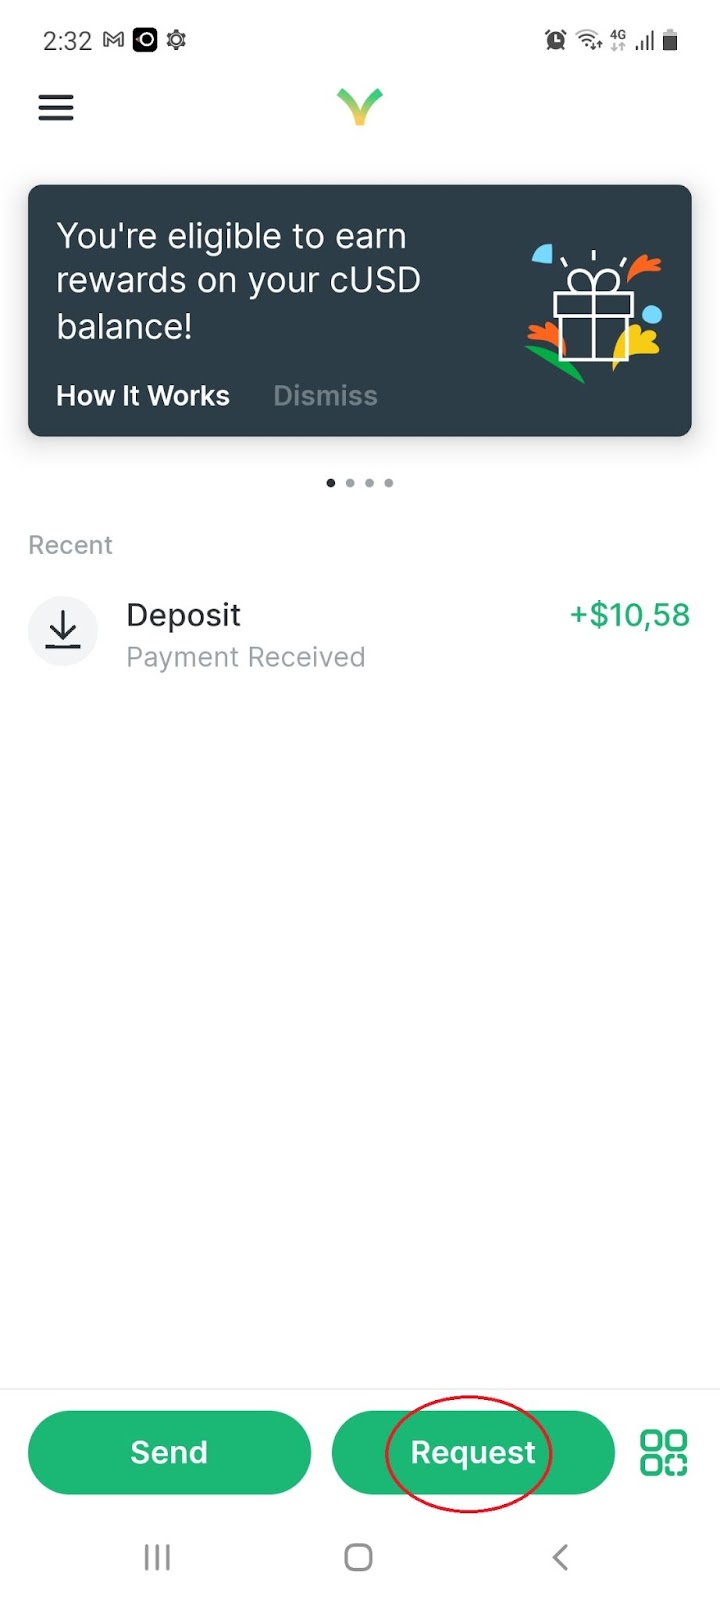
6.1 On the home page, select ‘Request’:
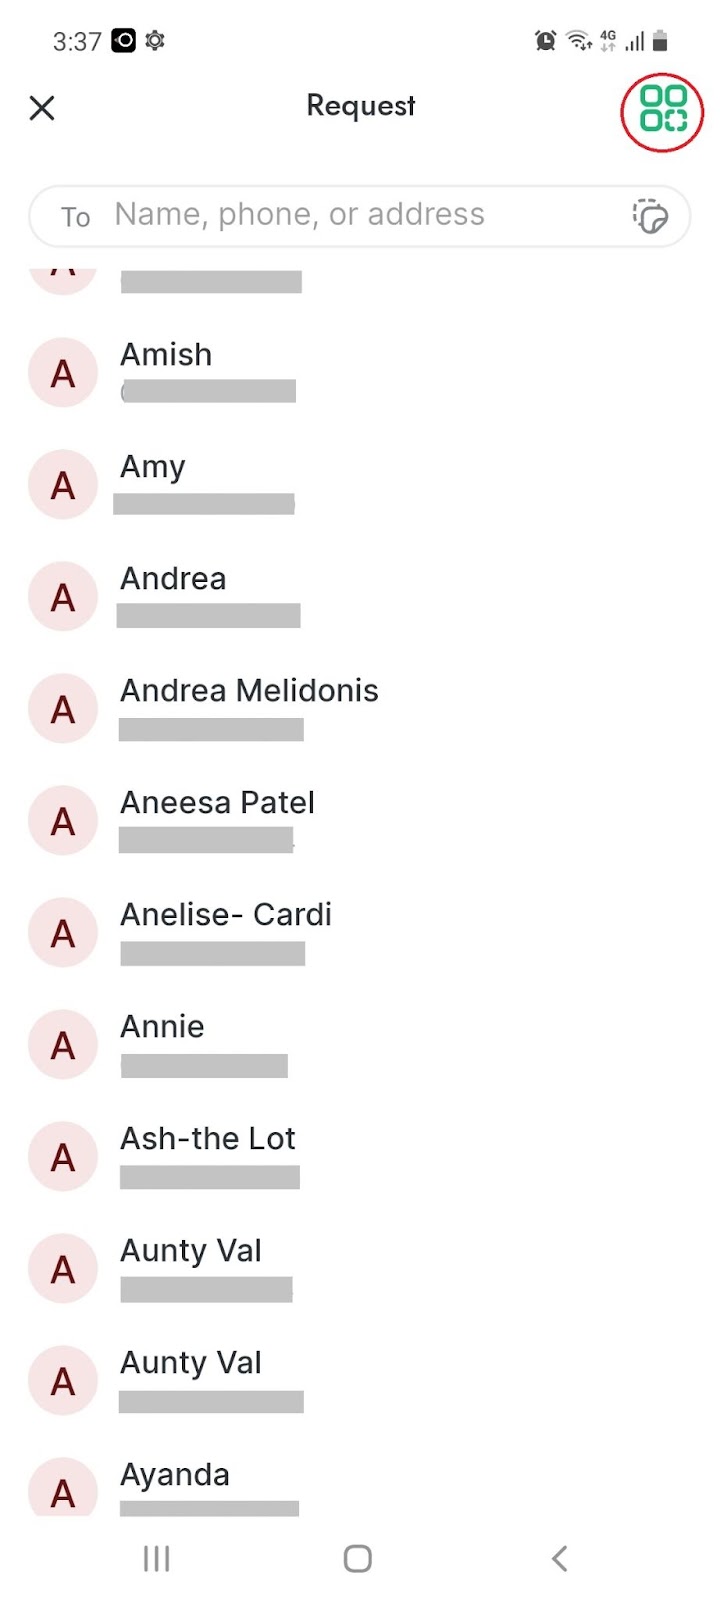
6.2 On the request page, click on the ‘QR code’ icon:
6.3 At the top, switch to ‘My Code’, then click on the ‘Share’ icon to send barcode:
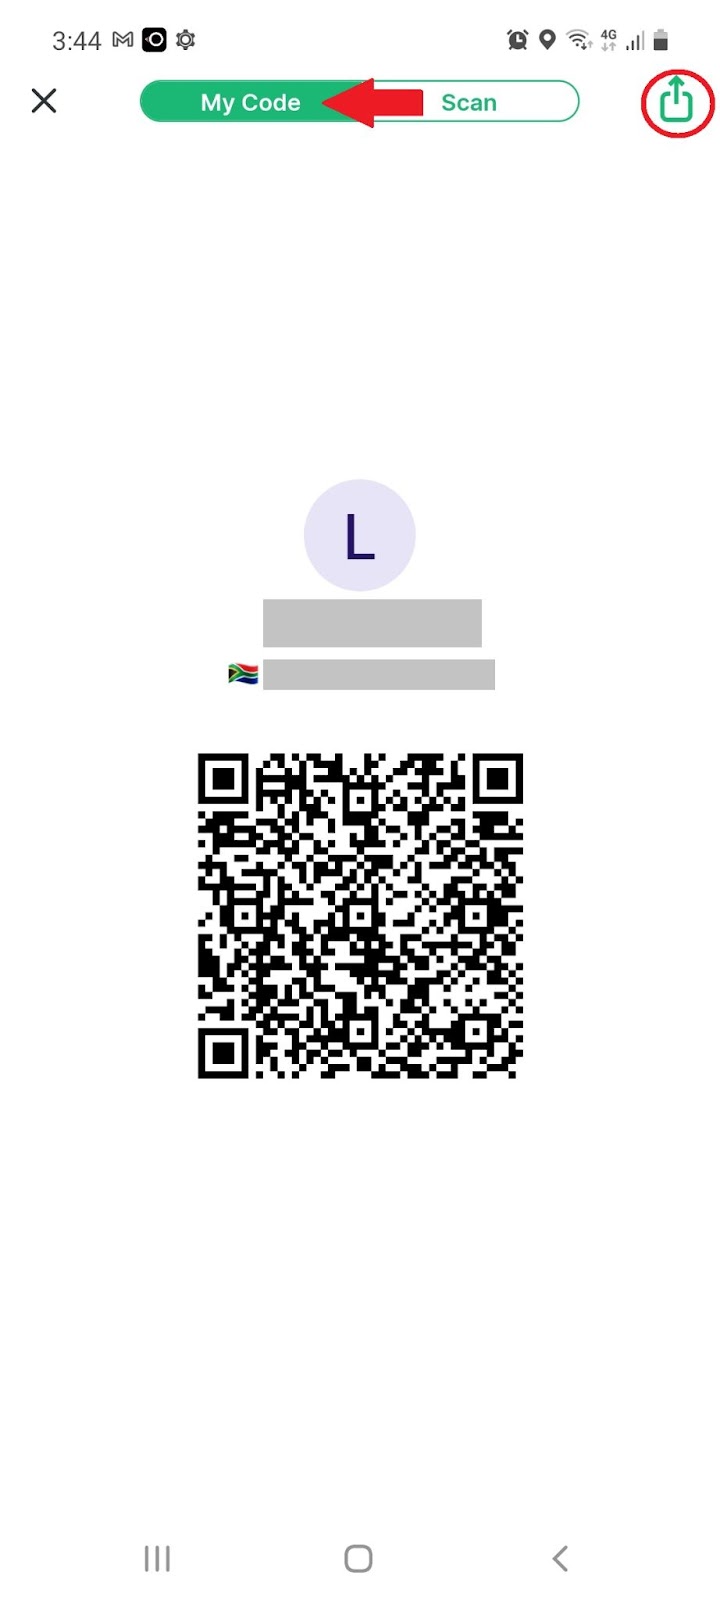
Note: If your contact does not have a Valora Account, Valora cannot send your request. Requests can only be sent to confirmed accounts.
A transaction fee of 0,001% will be charged.
7. Earn cUSD
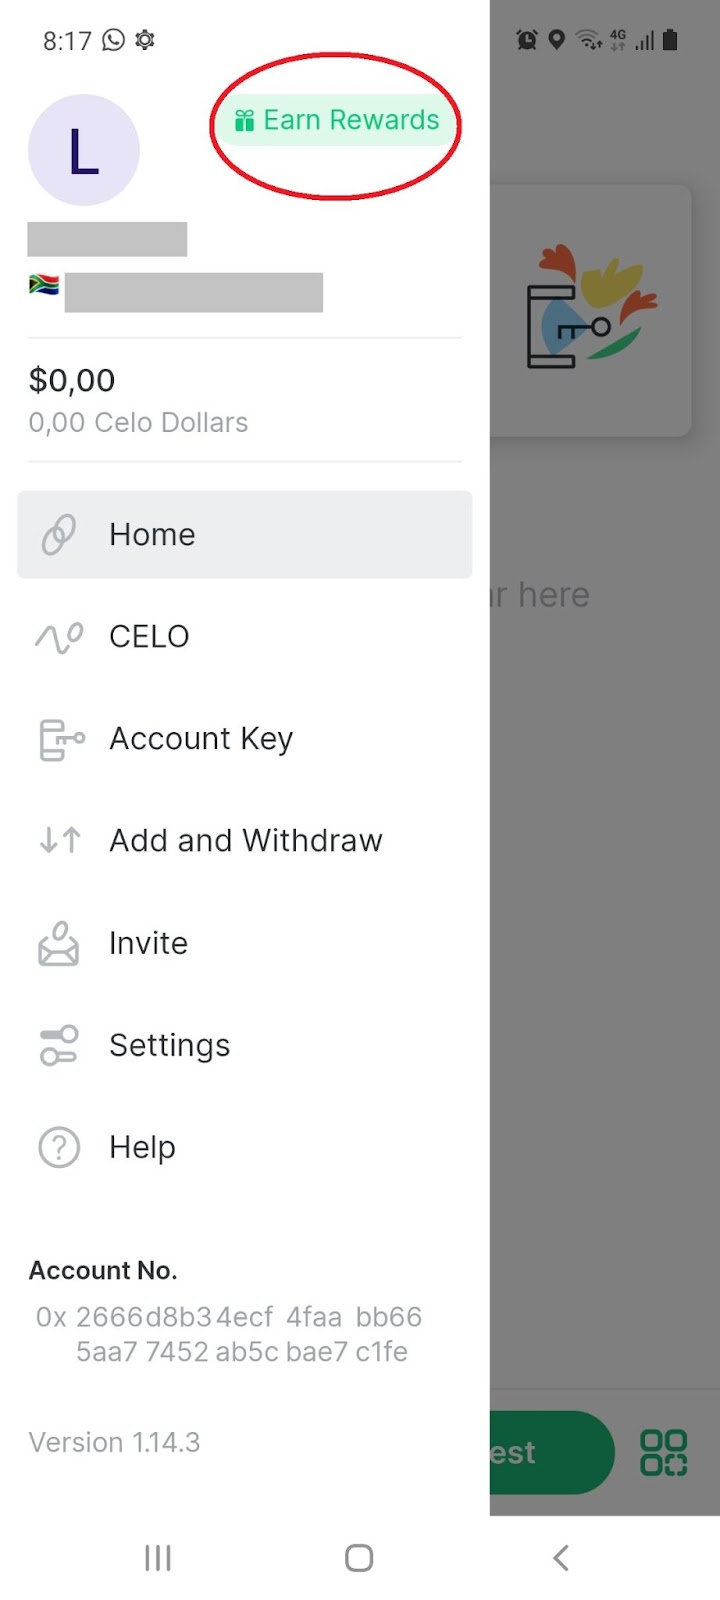
7.1 On the home page, select the ‘Menu’ icon:
7.2 On the menu bar, select ‘Earn Rewards’:
7.3 Review the CELO Rewards programme:
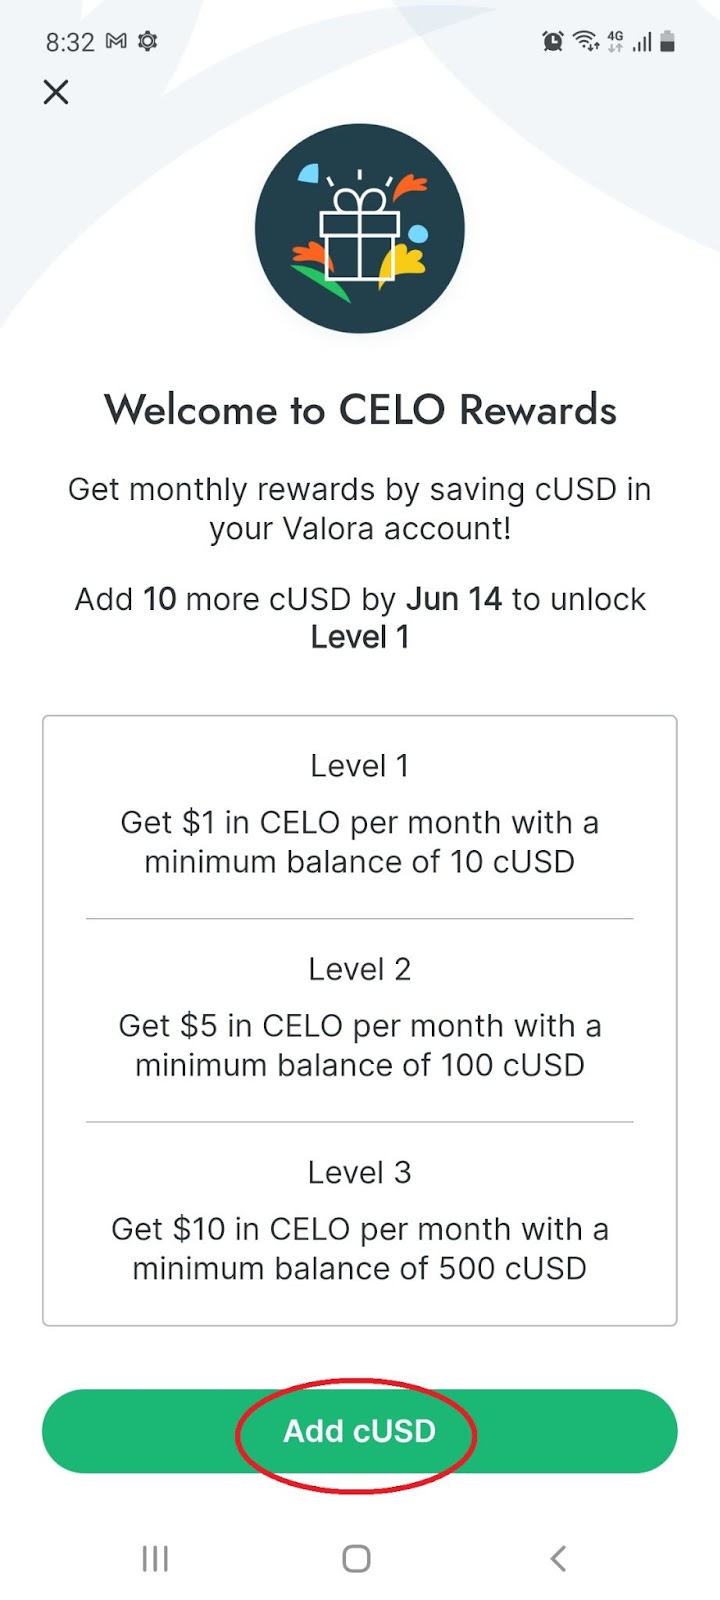
Note: You get monthly rewards by saving cUSD in your Valora Account. Any wallet with a confirmed address holding a minimum balance of at least 10 cUSD is eligible for rewards
8. Invite your Friends
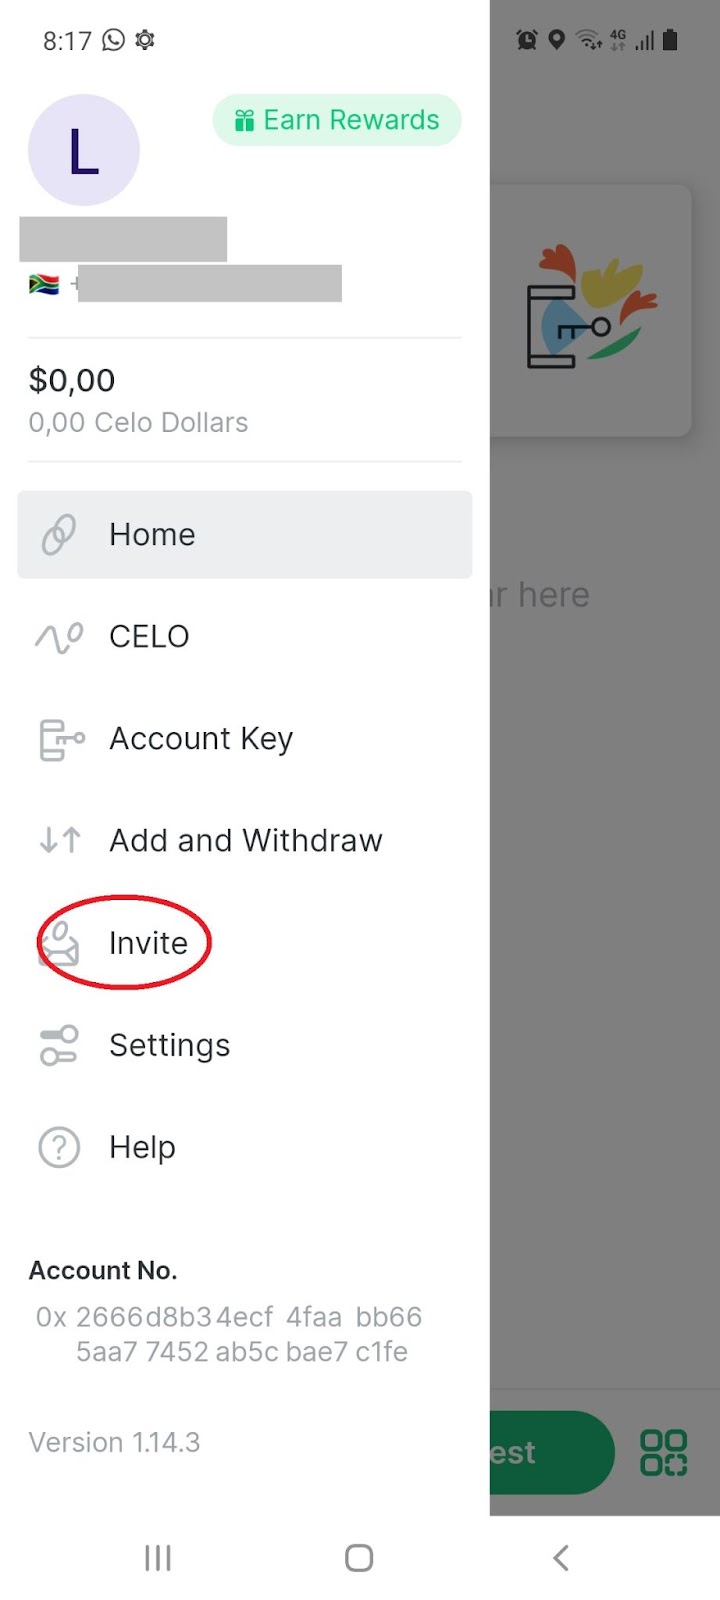
8.1 On the home page, select the ‘Menu’ icon:
8.2 On the menu bar, select ‘Invite’:
8.3 Select ‘Invite’ to share an invite link with your family and friends: